Everyone’s blankets are looking fantastic! I’m so excited that so many people are taking part — there’s even a group in South Africa working on it! I hope all of the rows so far have been do-able. This week is going to be a bit of a break from the difficult stitches, although there is still a “special” stitch! Ready to get started?
Don’t forget, we’re using US terms!
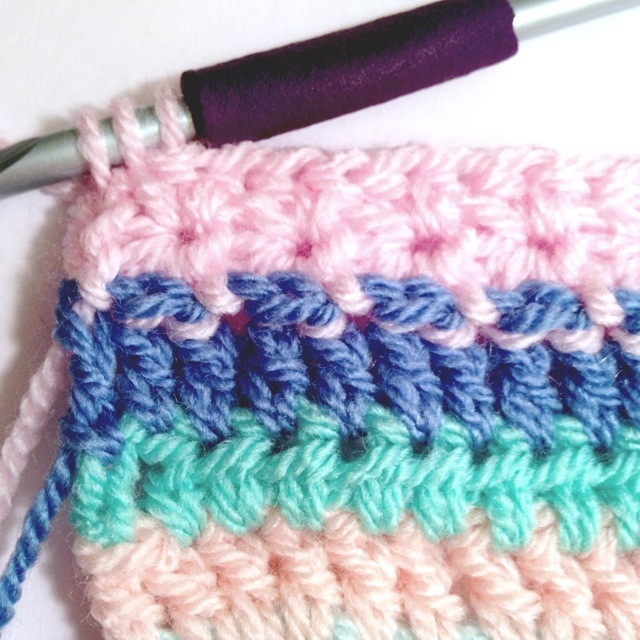
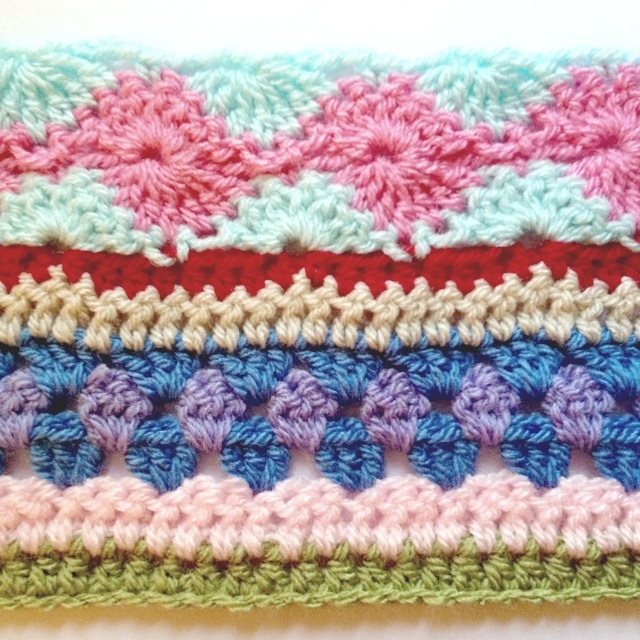
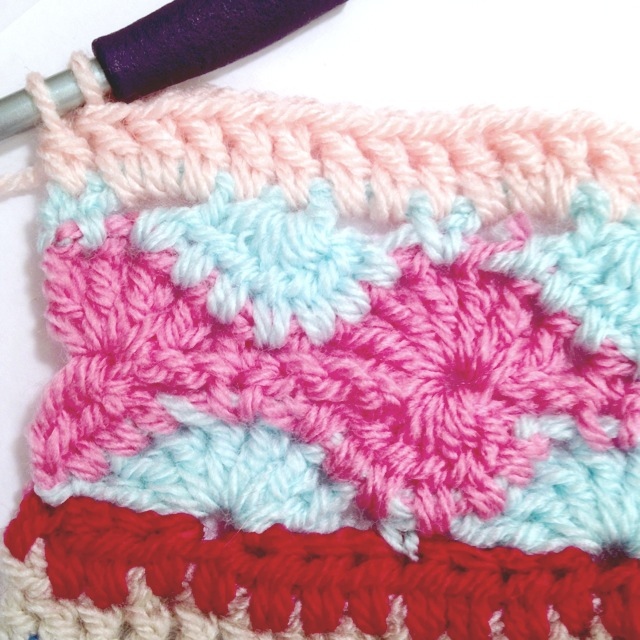
Last week, we finished here, with row 21:
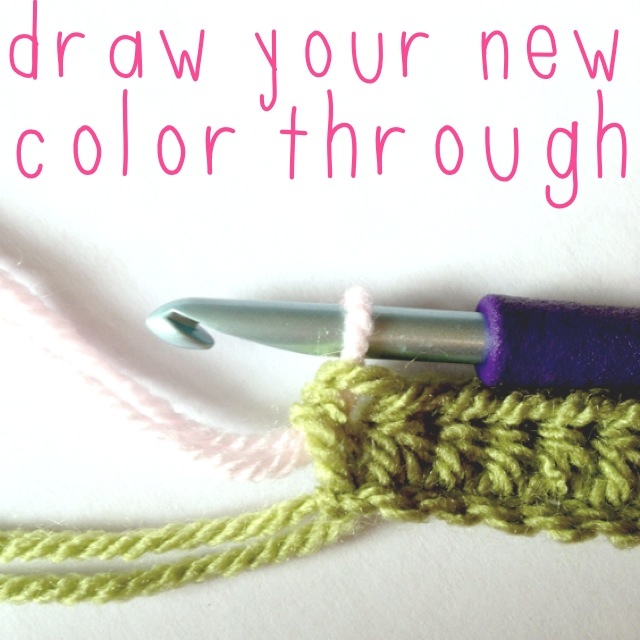
row 22
With new color, dc across.
row 23
With new color, hdc across.
row 24
With new color, dc across.
row 25
With new color, hdc across.
row 26
We’re going to do 3 rows of 1 color, so I’d recommend starting this row with a color of yarn you have a lot of. With your chosen new color, dc across. I’m using my lavender color for this:
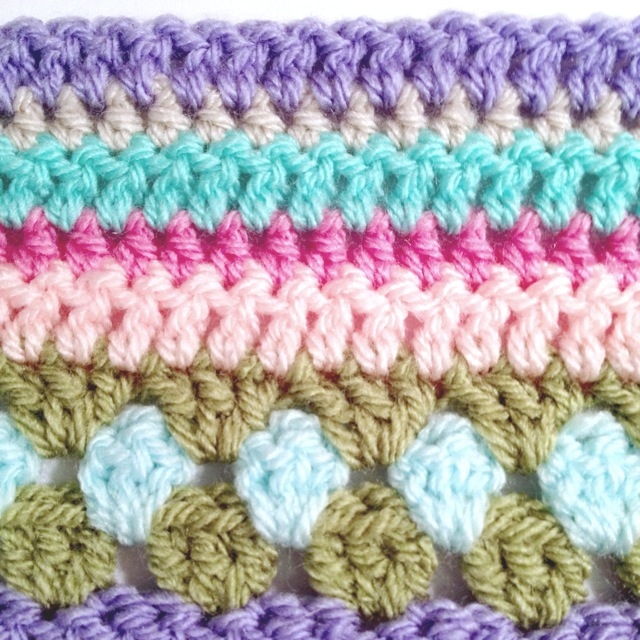
row 27
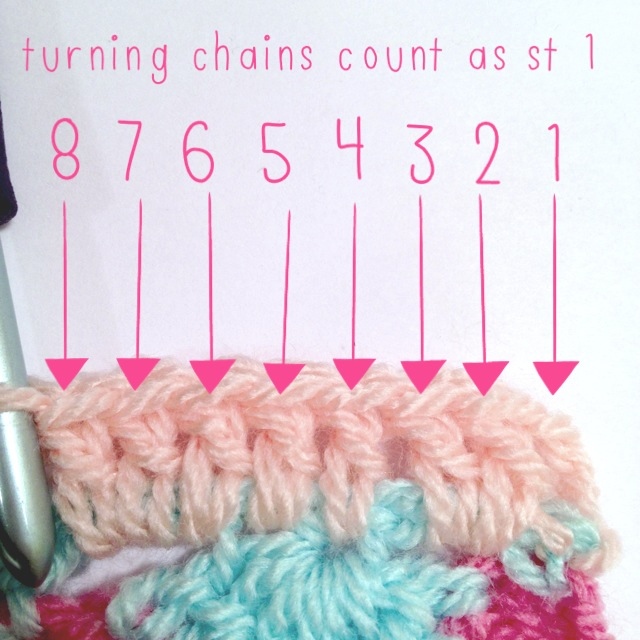
Do not change colors. This is a row of hdc with bobbles interspaced. You can space your bobbles however you like, but I’m personally putting 9 hdc stitches in between each bobble. The bobbles will be a different color, so pick one that goes with your current working yarn. If you want to space your bobbles like mine, here’s what to do.
ch 2, hdc 8 across. Leave last stitch unfinished:

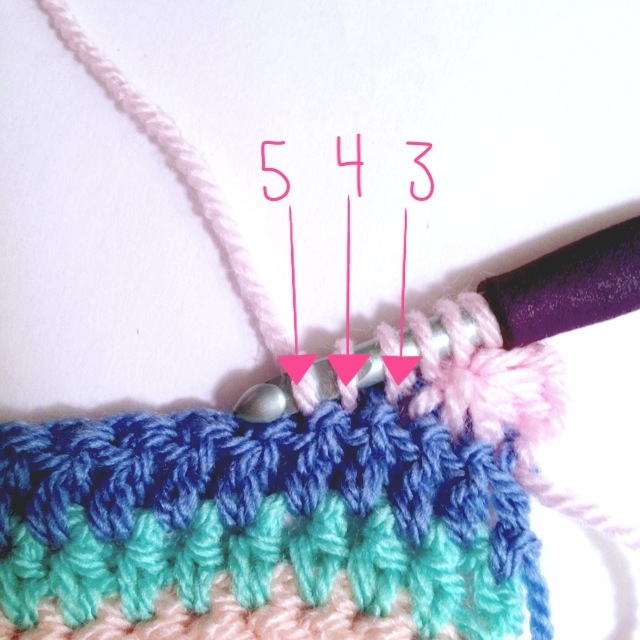
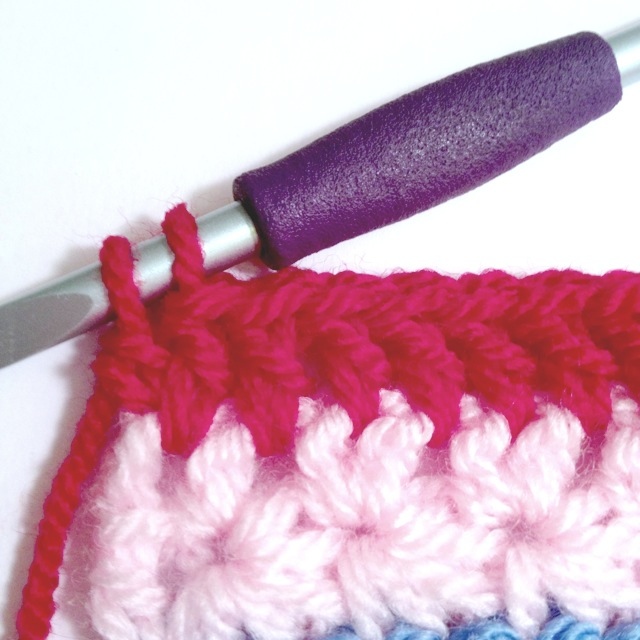
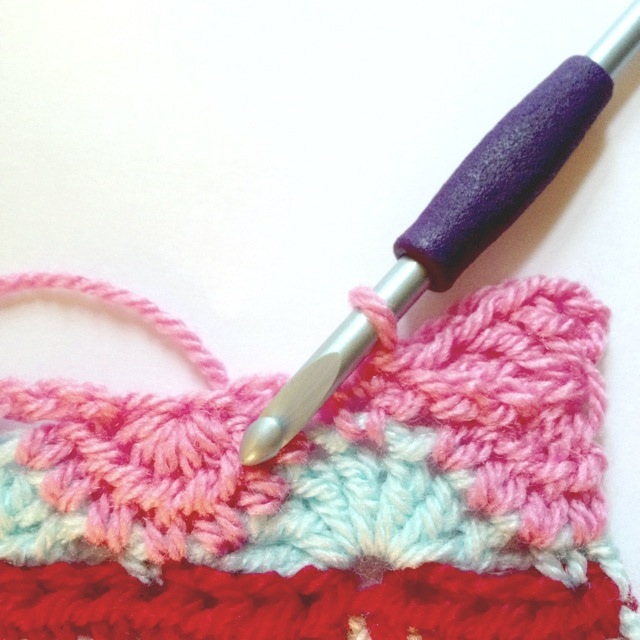
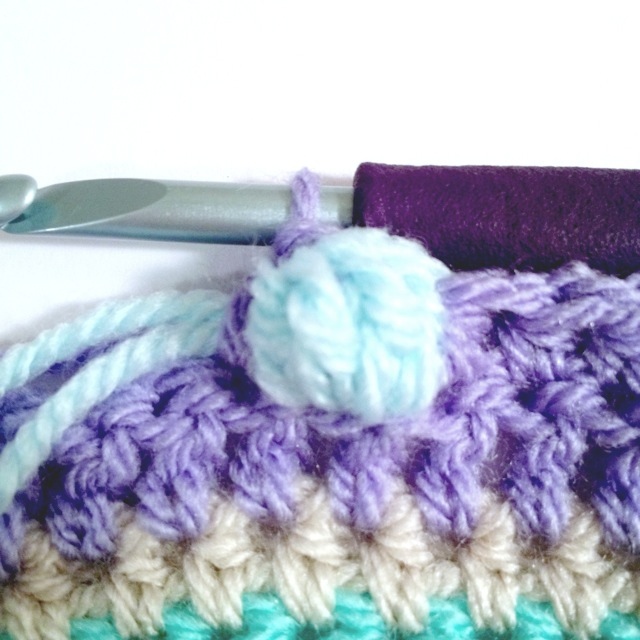
Finish the stitch with your bobble color. Crocheting over the working yarn of your background color, make 1 dc in next st, but do not pull the last loop through:

Make 3 more unfinished dc stitches in the same stitch. You will have 5 loops on your hook:

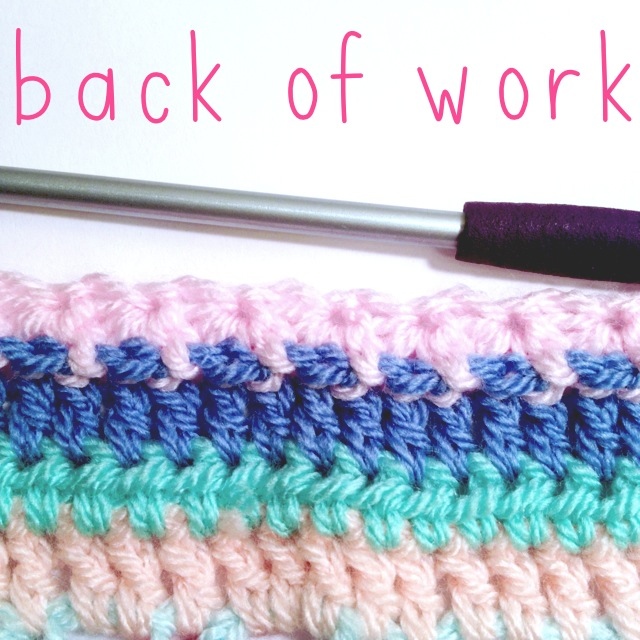
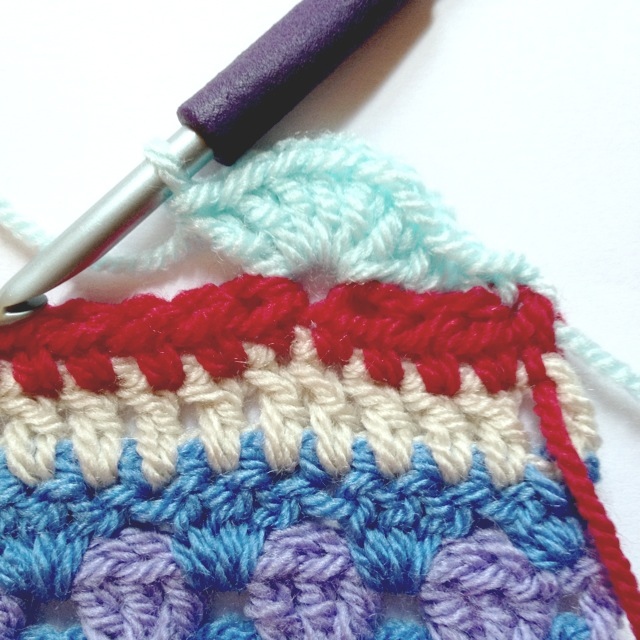
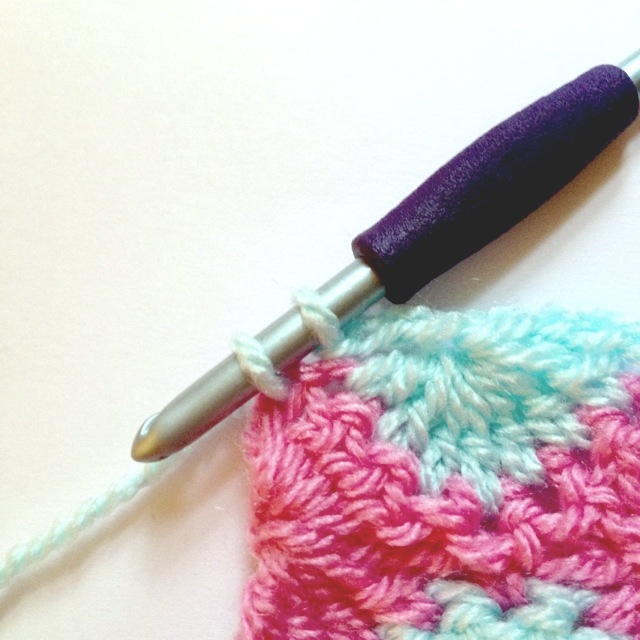
Switch to your background color and pull it through all 5 loops of your bobble stitch. Make a hdc in the next stitch:
Working over your bobble yarn, make 8 more hdcs, leaving the last unfinished. Repeat the bobble. Keep doing this until the end! You will not have 9 stitches of background color at the end (I have 7) but that’s OK — it looks fine, right?
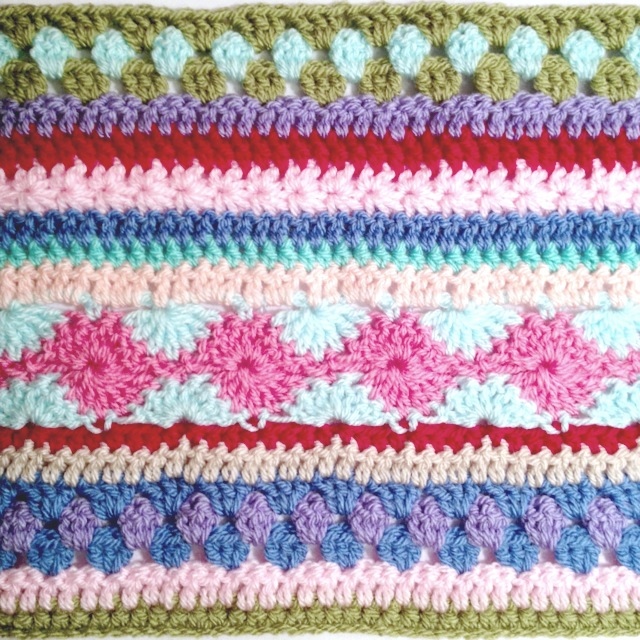
row 28
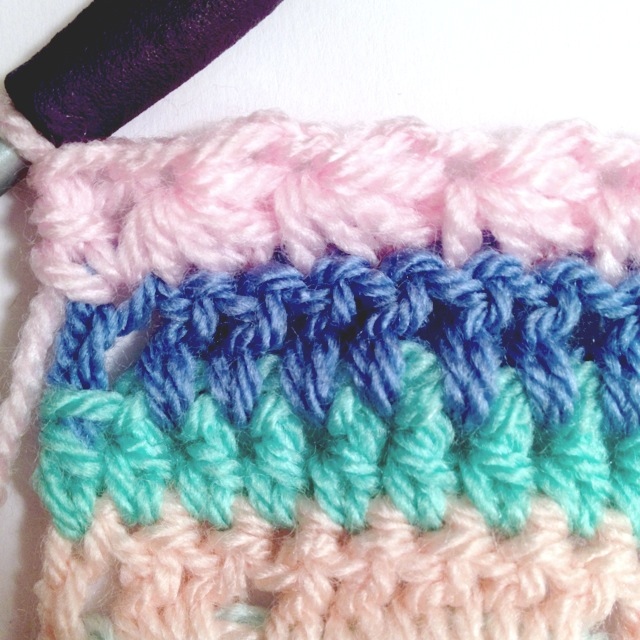
With the same background color, dc across. That completes the bobble section! Aren’t they cute?

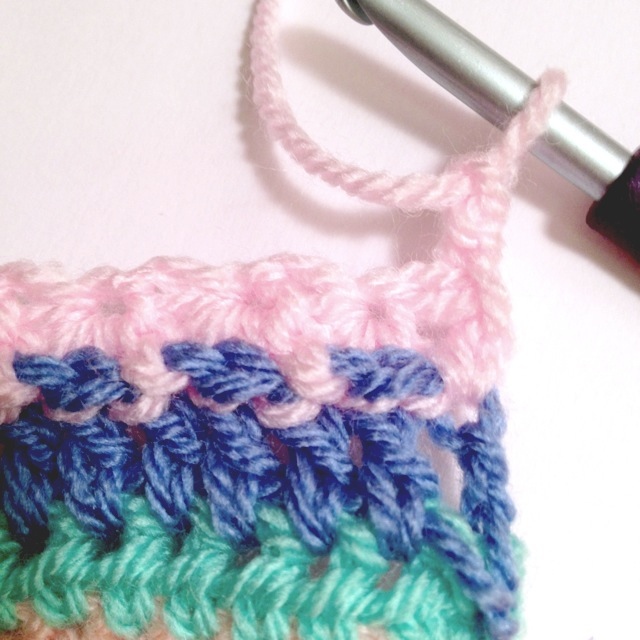
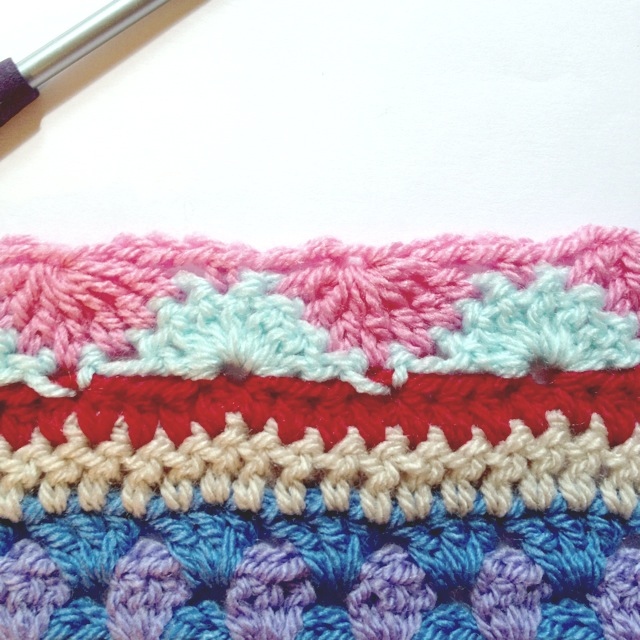
row 29
With new color, hdc across:

That’s all for this week! Pretty simple compared to the star stitch and the Catharine wheels, no? Next week we’ll have yet another challenge, but soon we’ll be repeating the stitches we’ve used already and you’ll have all of them down!
Don’t forget, you can post photos of your progress on the facebook page or on the Ravelry group. If you’re on Instagram you can use the hashtag #nyaccal to share your progress!
As always, thanks for stopping by!