The stockinette stitch is a fabric that is formed by making alternate rows of knit stitches and purl stitches. This forms a smooth front with little ‘V’s and a bumpy back. If you look really closely at your t-shirt, you’ll see it’s probably made like this.
what you need:
You need to know the knit stitch. Go ahead and cast on 14 stitches, and go ahead and knit the first row like you would if you were doing the garter stitch. Should look like this:

how to purl:
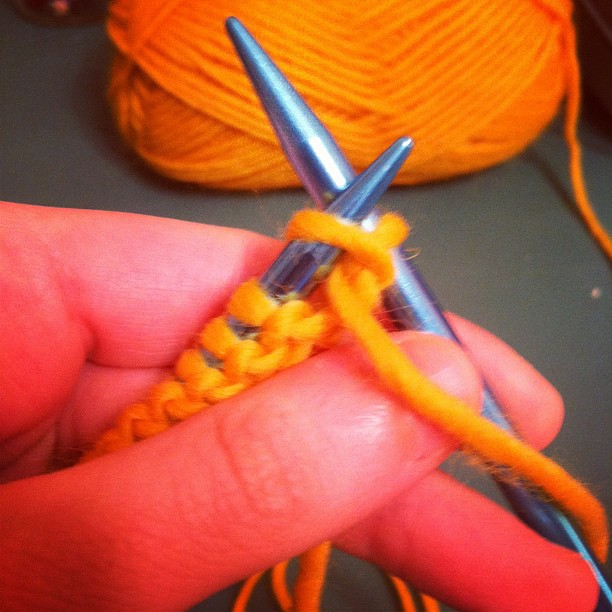
Purling is basically knitting backwards. So since you hold your yarn to the back of your work when knitting, you need to hold it to the front of your work when purling. You still hold your needles the same, but instead of working into the stitches from front to back, you’ll be doing it more from back to front. Like so:

Now wrap your yarn counterclockwise around your right needle:

Now use your right needle to loop the working yarn under the top stitch on the left needle:
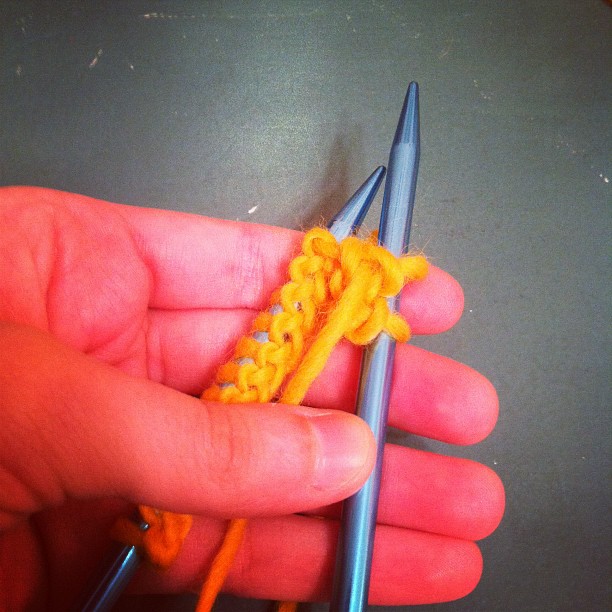
And to finish your first purl stitch, you need to let the top stitch on your left needle slide off:

Now you have 13 stitches on the left needle and 1 on the right! We’re gonna purl all the way across the row, so I’ll show you the stitch one more time. With your yarn still in front, insert your left needle under the right one from “back to front:”

Wrap your yarn around the right needle counterclockwise:

Pull the loop through the stitch:

And let the stitch slide off the left needle:
Now you’ve got 12 stitches on the left needle and 2 on the right! You’re purling! Keep going all the way across. It’ll look like this when you’re done and have turned your work around:
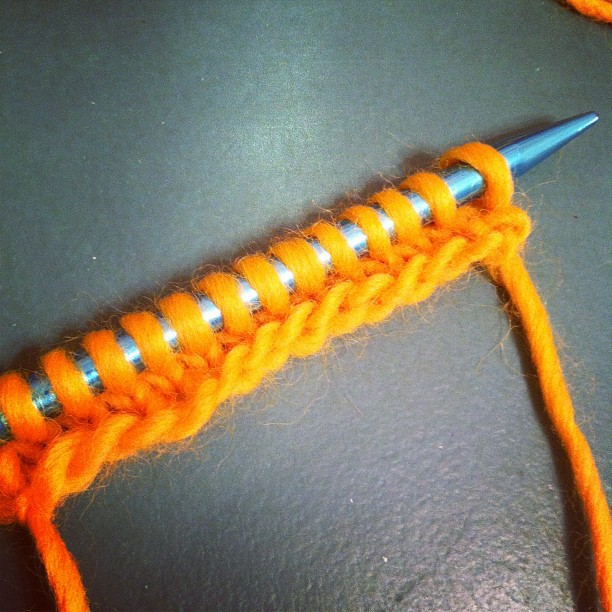
See? You can sort of see the little knit “V” stitches right by the needle. That’s the front of the work. Every time you see those “V”s, you know you’re looking at the right side, and that means you’re gonna knit the next row, in case you forget which you’re on.
stockinette:
So go ahead, knit the next row (with the yarn to the back). When you’re done and you turn your work, you’ll see the bumpy side. That means it’s time to purl across again:

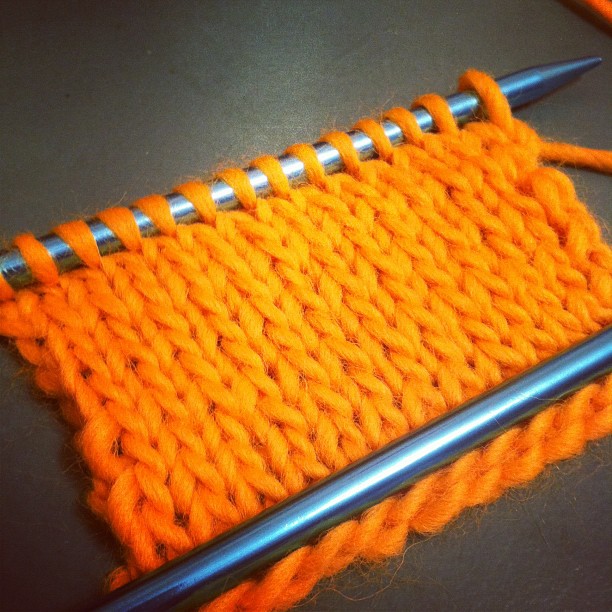
And so we purl across (with the working yarn to the front), and we turn our work, and we see this:

Now if we keep up this knit row, purl row, knit row, purl row pattern, we’ll end up with the stockinette stitch. Don’t be alarmed if your work rolls up at the bottom. That’s normal and it happens because most knitters knit their stitches tighter than they purl their stitches. That’s why many patterns that utilize the stockinette stitch have ribbed edging, because a more stable ribbed edging keeps the work from curling. Explains a lot, huh? Here’s my curly work:

So if I blocked it (which I’m not because this is a sample square), it would theoretically lay flat and look like this:
And again, the back will look nubbly, like this:

When you’re done, bind off on a row where you would normally be knitting, or a right side row:

Ta-da! You can do the stockinette stitch!


[…] purl/stockinette stitch not your average knittingand other crafty musings […]
LikeLike