Hello everyone, it’s been a while! I have lots of life updates but I’ll put those at the end, cuz I have craft updates, too!
Firstly, I made over 30 crocheted hats in a week and a half as a Christmas present for the patients on my lodge at the hospital where I work, and I think they really liked them! Now the staff are asking for them too, though, so I still have a few more to make and tbh I’m a bit tired of hats. 😅
I am therefore just futzing around making random stuff. I started a crocheted doily from some leftover yarn but that’s not gotten far, however I was inspired by a good friend to knit some simple fingerless gloves!
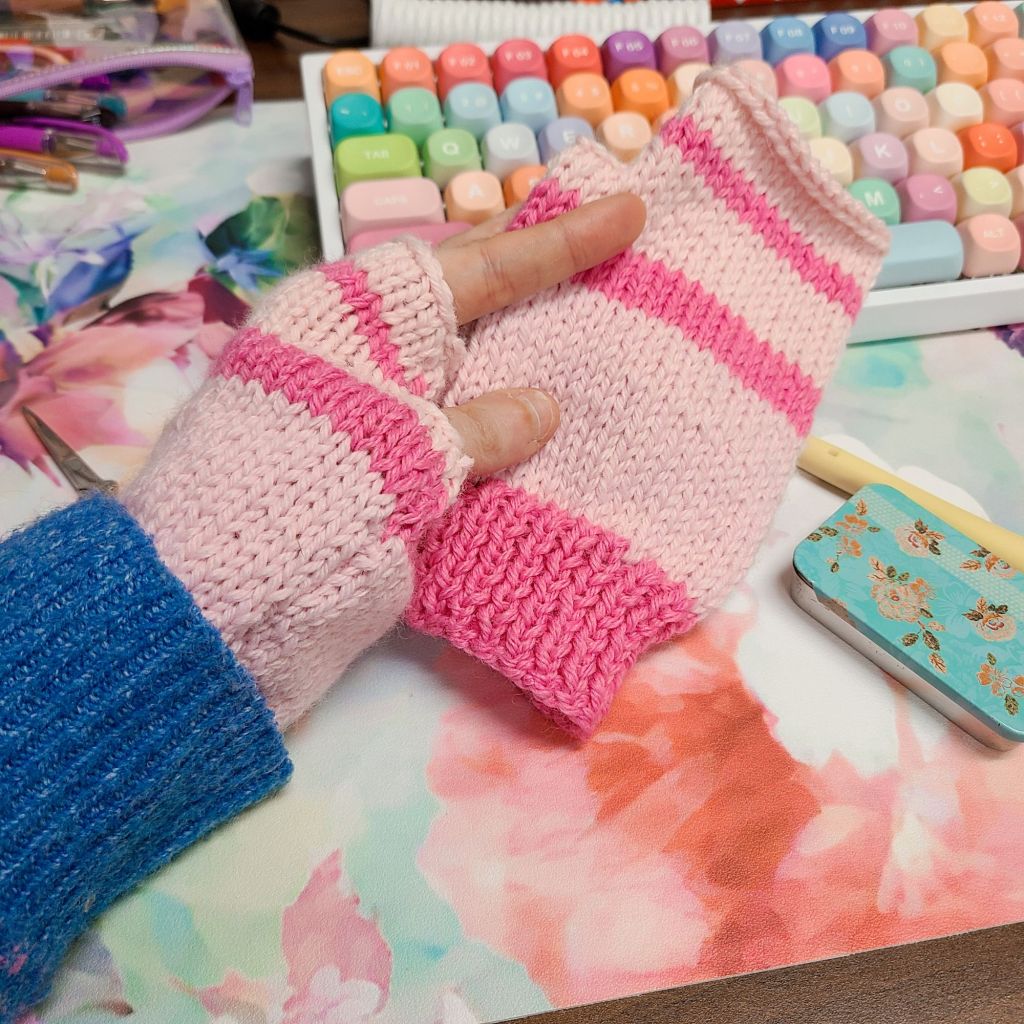
I’m using a leftover wool-blend aran weight yarn from my brightly colored ripple blanket, which is perfect for these gloves, but I made up the pattern and there are some tweaks I wanna make for my second pair, which I have started:
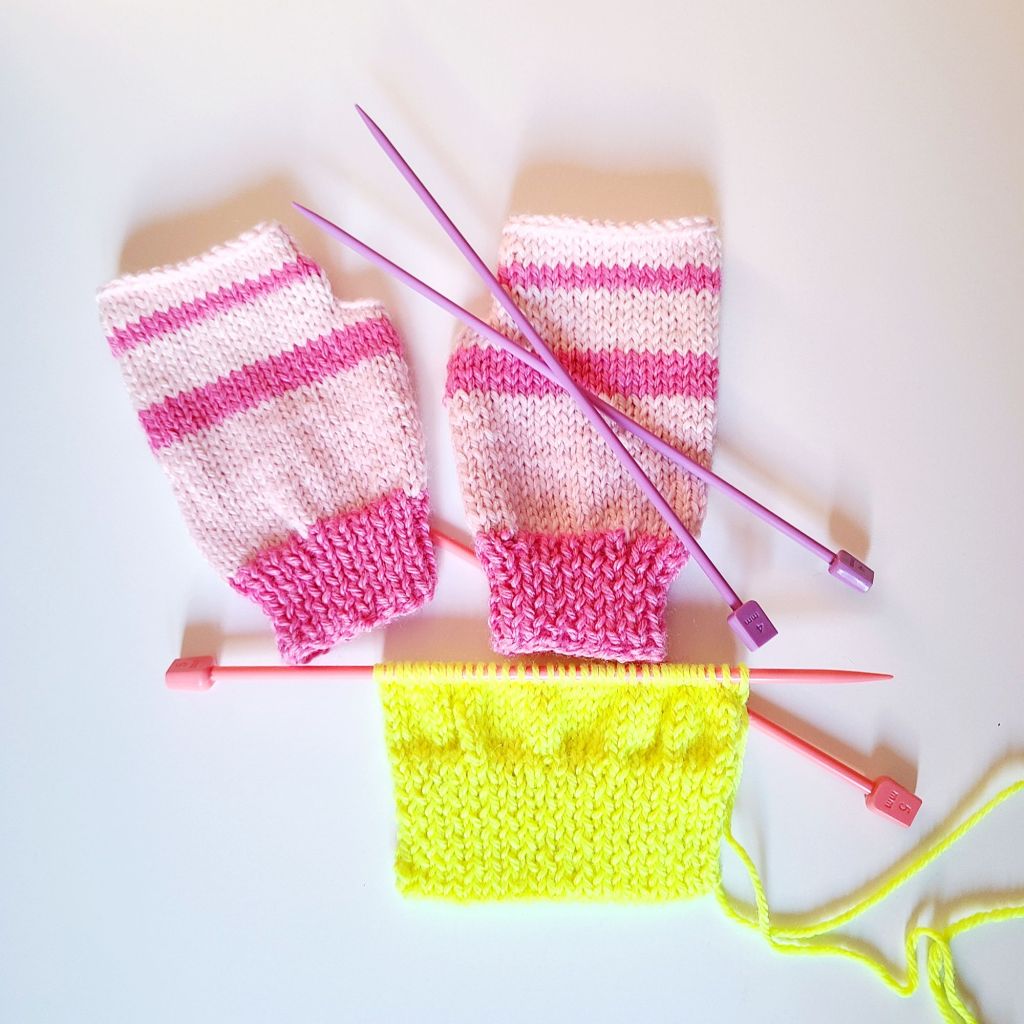
I’m casting on the same # of stitches (36, because that’s my current age and because I have small wrists so it works) and using the same needles for the ribbing (4mm) and the body (5mm), but I did a long-tailed tubular cast on in 1×1 rib for the second version because it’s more stretchy (and I just love the way it looks, it’s my favorite cast-on even though having to do the setup rows is frustrating sometimes). I’m gonna do a few more minor alterations, like changing where I put the increases and making a slightly larger thumb hole, but really I’m just winging it.
I did start trying to do the same with some Felicini sock weight wool blend yarn from KnitPicks, but I didn’t know how many to cast on and overestimated, so I had to do it again. And now it’s still too large compared to the neon ones, so I have to do it again.
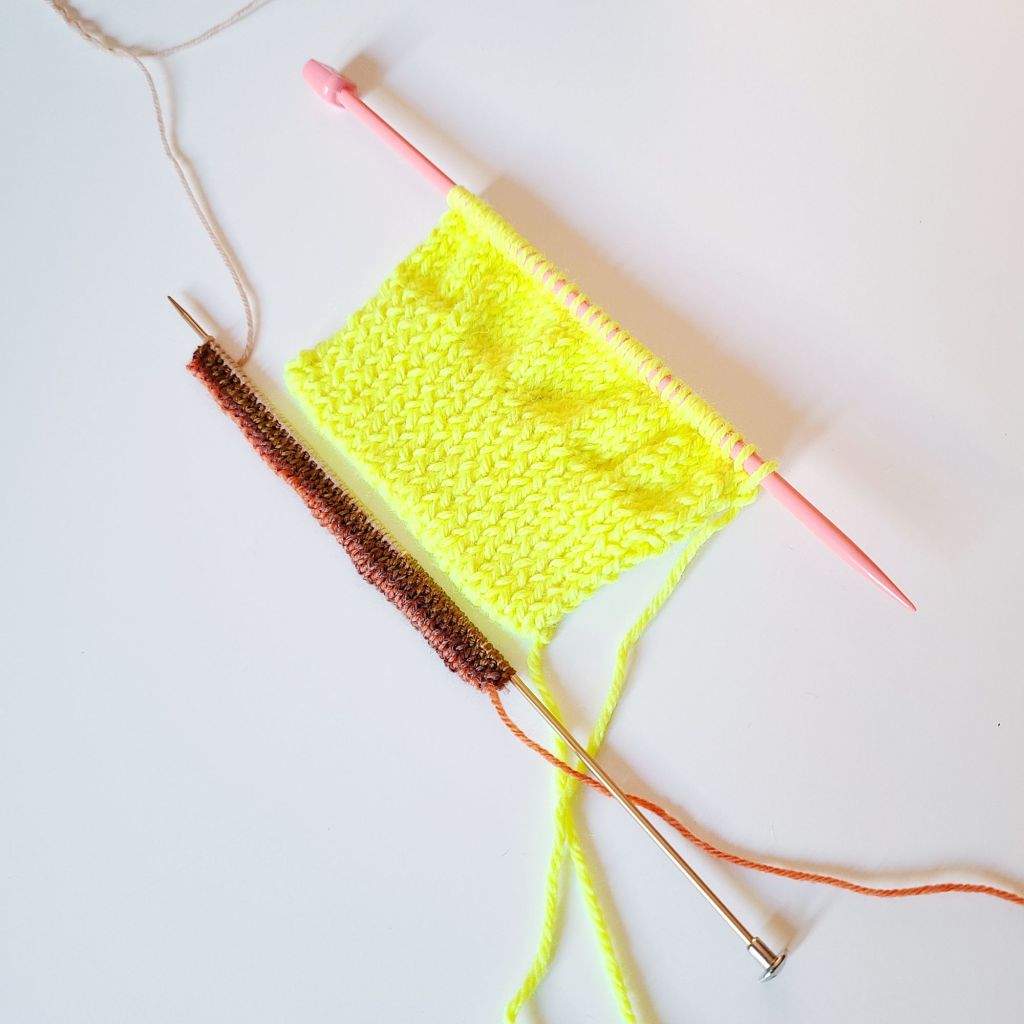
I’ll keep going on it though after I finish the neon ones, even though it’ll take a lot longer since it’s sock yarn instead of aran, because it matches a blanket hoodie I got for Christmas from my partner’s mom:

And that brings me to the life update parts, which I’ll try and keep brief: I’ve been dating a new partner for a little over 7 months, and she just bought a lovely old home so we’re gonna move in together (as long as my dog doesn’t try to hurt her cats, so I’m quite nervous about that cuz I have no idea how my dog will do with cats). I’m excited to get out of this tiny, dark apartment (not to mention it was kind of an emergency move to get out of a bad situation with my ex-husband, so it has some negative feels attached to it), and I’m thrilled to be able to slowly decorate my own home and make a place that’s really my own. And guess what? I’LL EVEN HAVE A CRAFT ROOM! My crafts will all have a nice space and won’t have to be scattered all over the whole house, making things look messy, and I’m so excited about it. I may do a post about that, assuming I get to that point without any issues with the fur babies.
Another update: I’ve been diagnosed as being on the spectrum and also having ADHD, and it’s been the best thing for my life in a long time. It explains so much about me, which is helpful in terms of me accepting myself for who I am and understanding why I do the things I do and struggle sometimes with certain things, and I’ve gotten on medications that are making a world of difference. It’s not quite perfect yet, but I feel better than I have in a long time. On top of that, I’m going to therapy weekly with a therapist who is absolutely amazing, and we’re even gonna work on some of the ex-husband related trauma/issues before I move into the new house so this can really be a new start for me, and I couldn’t be more excited.
So yeah, my new year is starting off pretty freaking awesome, and I hope it is for you as well! Did you make any resolutions this year? I never do anymore but I love hearing about other people’s goals, so feel free to share below! And as always, thanks for reading, and I’ll see you again in hopefully a short time! ❤