surprise, I’m alive and stashbusting!

Not because I’m quitting crafts or anything — quite the contrary — I need room for more, of course!

I hope you’ve all been doing well, and I really hope to start blogging more with the stuff I’m making and stick to it this time (cuz I know I say that every time, and I do apologize).  I’ve still been sewing, crocheting, knitting, cross stitching, embroidering, jewelry making, and even doing more “eclectic” type stuff with bones and bugs I find outside, I just need to share it with you guys!

I will say I have been busy partially due to the fact that my bestie (who is an insanely creative crafter) and I are now running a craft vendor booth called Hyperfixation Station (click here for the linktree, and you can see some of the stuff we have for salethrough Facebook as well as our Instagram if you feel like following or just taking a peek at some of the crafts we’ve been up to and markets we’ve participated in).

So anyway, stashbusting.  My yarn was overflowing my dresser, I bought another set of storage drawers, and I still had trash bags and baskets and storage ottomans full, so I decided it was time.  I got rid of a ton of my worsted weight acrylic yarn by thrifting a large wooden picture frame and filling it with pompoms I made with the medium and large Clover pompom makers (I just used hot glue to stick them on):
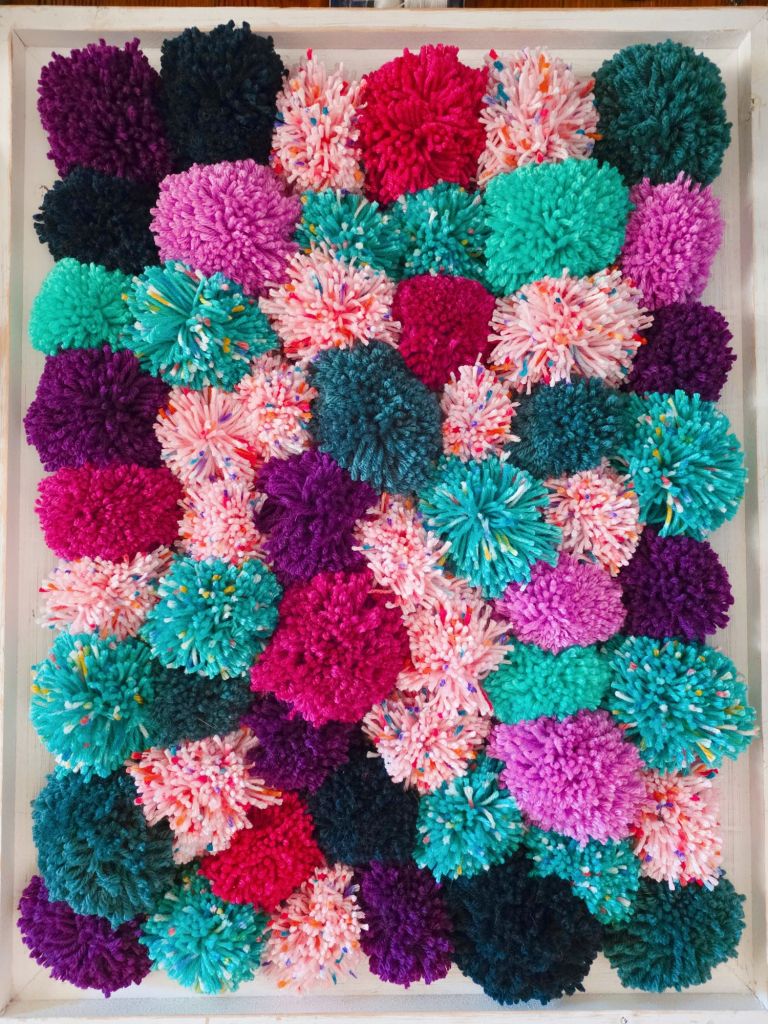
It’s hard to tell the scale but it’s pretty big — I feel like I’m carrying a large waitress tray when I hold it — and it got rid of SO MUCH YARN, it was so nice!  I’m hoping to sell it at a market, as I don’t really have a good place for this in my house, but I think it’s a pretty quick and cute way to use up scraps!  One lady at a market commented that she used to make things like that in the 70s, and I thought that was pretty cool, as well, how things always seem to come back around.

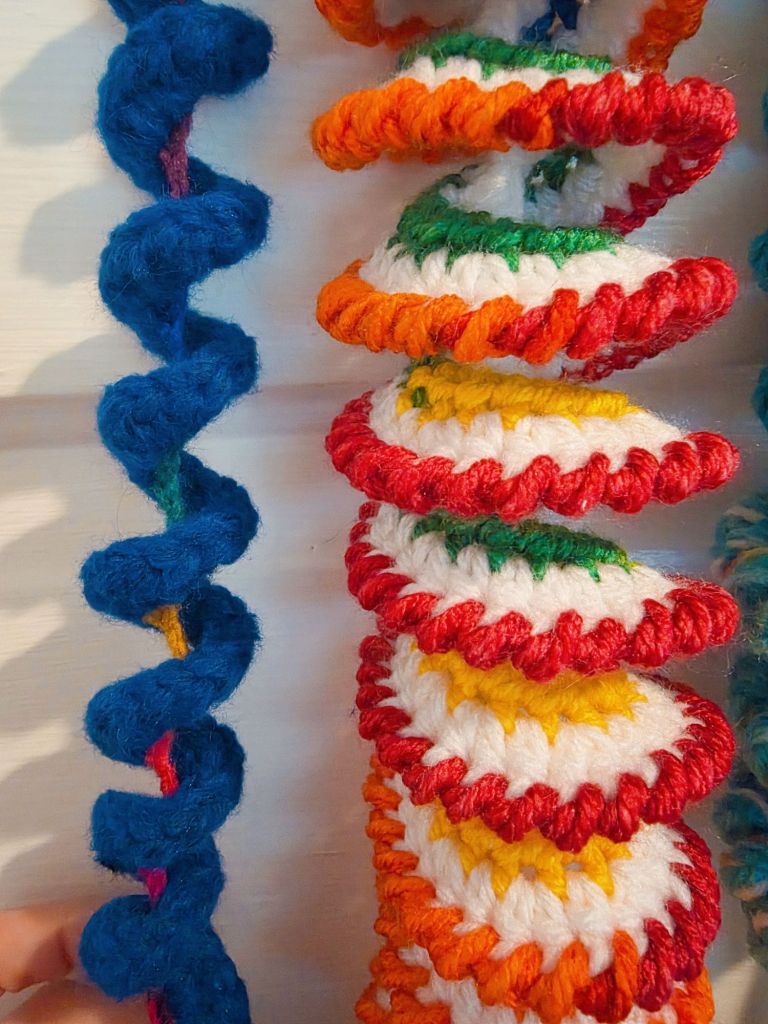
Another kind of addictive way I’ve found to stashbust smaller scraps is by making “wind catchers,” which is just to say I’m using spiral crochet to make pretty decorative hanging things!  Here’s what I’ve got so far (and I intend to sell these, as well):
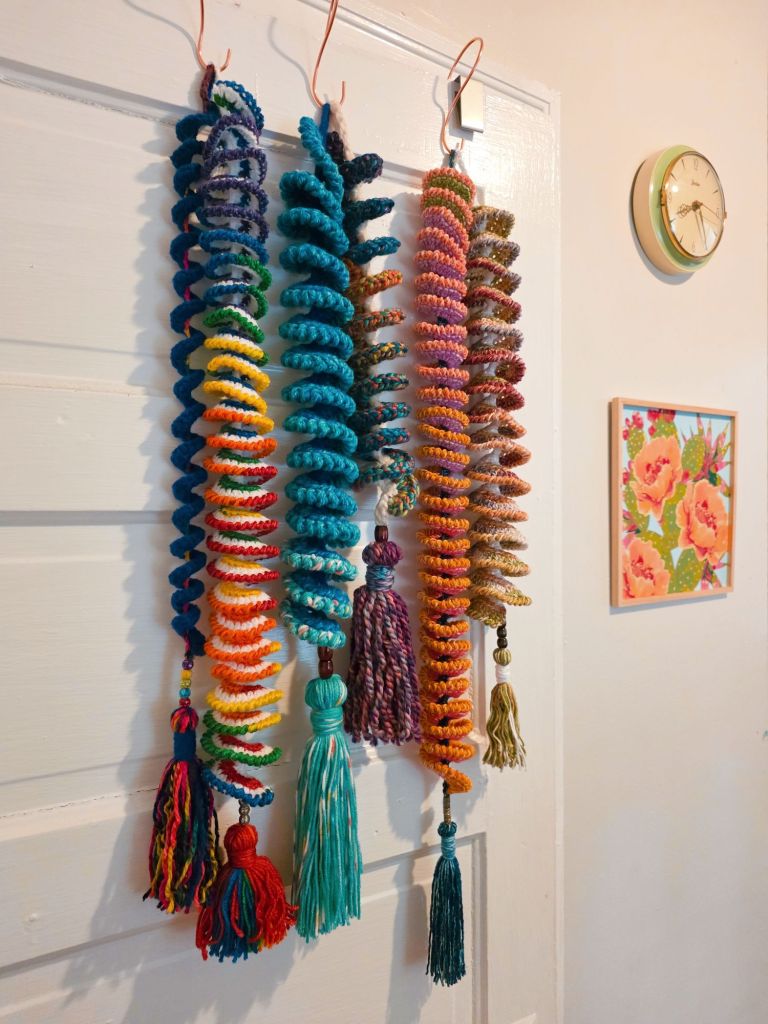
They’re fun, quick, and pretty!  Here are some closeups so you can see a bit better:
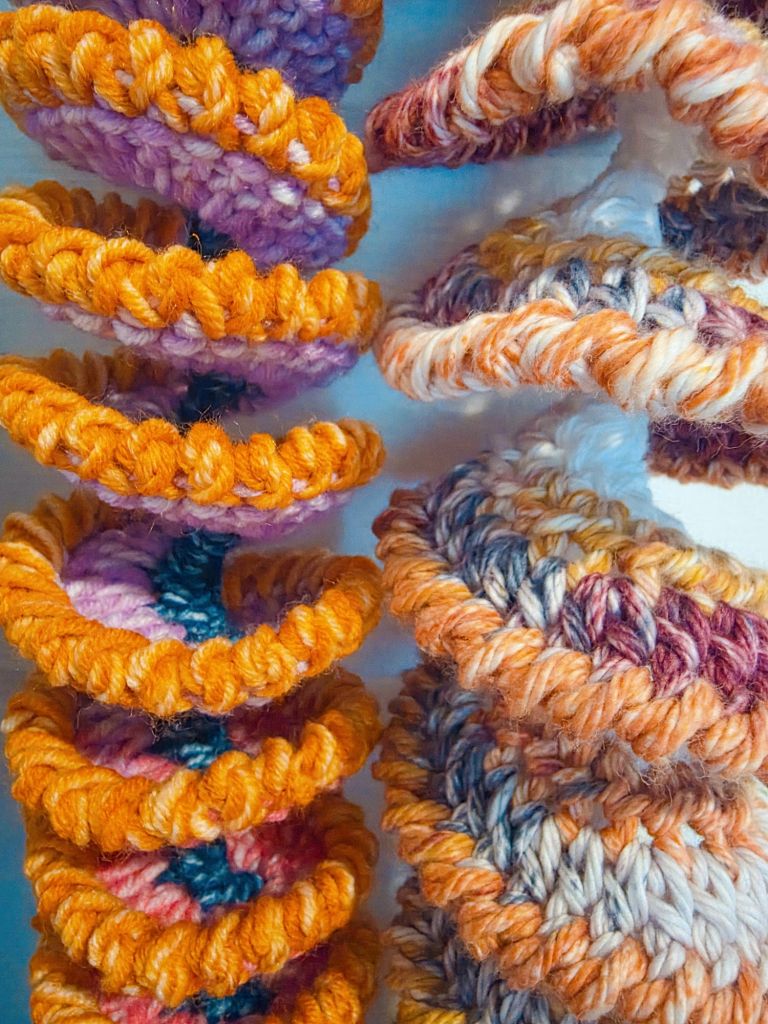
You can see some of them have more rows than others, some of them have crab stitch outer rows (which is probably my favorite border stitch of all time, honestly), and some of them look wound more tightly than others (which is dependent on your stitch count choices), so there’s a lot of room to play with these!

There are other projects I’d like to share, too, but I’ll just stick with these stashbusters for now.

Do you have any go-to or favorite stashbusters you’d recommend?  I may be out of most of my worsted acrylic now, but I’ll eventually end up with more that I don’t know what to do with (as well as other yarn weights), and I’m open to other ideas, too!

I’ll try and come back soon with more of the stuff I’ve been working on, but until then, thanks for stopping by and I hope your day is full of beauty and peace!

punch needle experiments

Hello hello! I hope ya’ll are doing well — it’s been a while!

I’ve been up to a low-to-moderate amount of crafting lately, and I just finished a project I’d like to share with you! It’s not from a pattern or anything, so it was a bit of an experiment and it’s certainly not perfect, but I’m happy with how it came out overall. Here it is:

Looking at the picture I might have to go back and adjust the fabric to get it to lay a bit more flat in the frame, but that’s okay. And the stars are actually made up of that plastic shimmery embroidery floss, it’s just hard to tell in the photo.

Punch needle is really fun for me. All I really had to do here was use a water soluble pencil to sketch out the luna moth and the moon, then I just had fun filling it in with color! It took much more floss than I expected — just the darkest yellow in the moon was like 4 or 5 skeins of floss on its own — but since floss is so cheap it wasn’t a huge problem to go back to the store and pick up more.

Have you ever tried punch needling before, and if so, how was it for you and what did you make? I’m curious to hear if people usually use patterns or just kinda make things up as they go.

a finished project and a new one

Hello everyone! I hope you’re all staying cool this summer (if it’s summer where you are) — the temperatures here are in the 100s and I’m staying inside as much as possible.

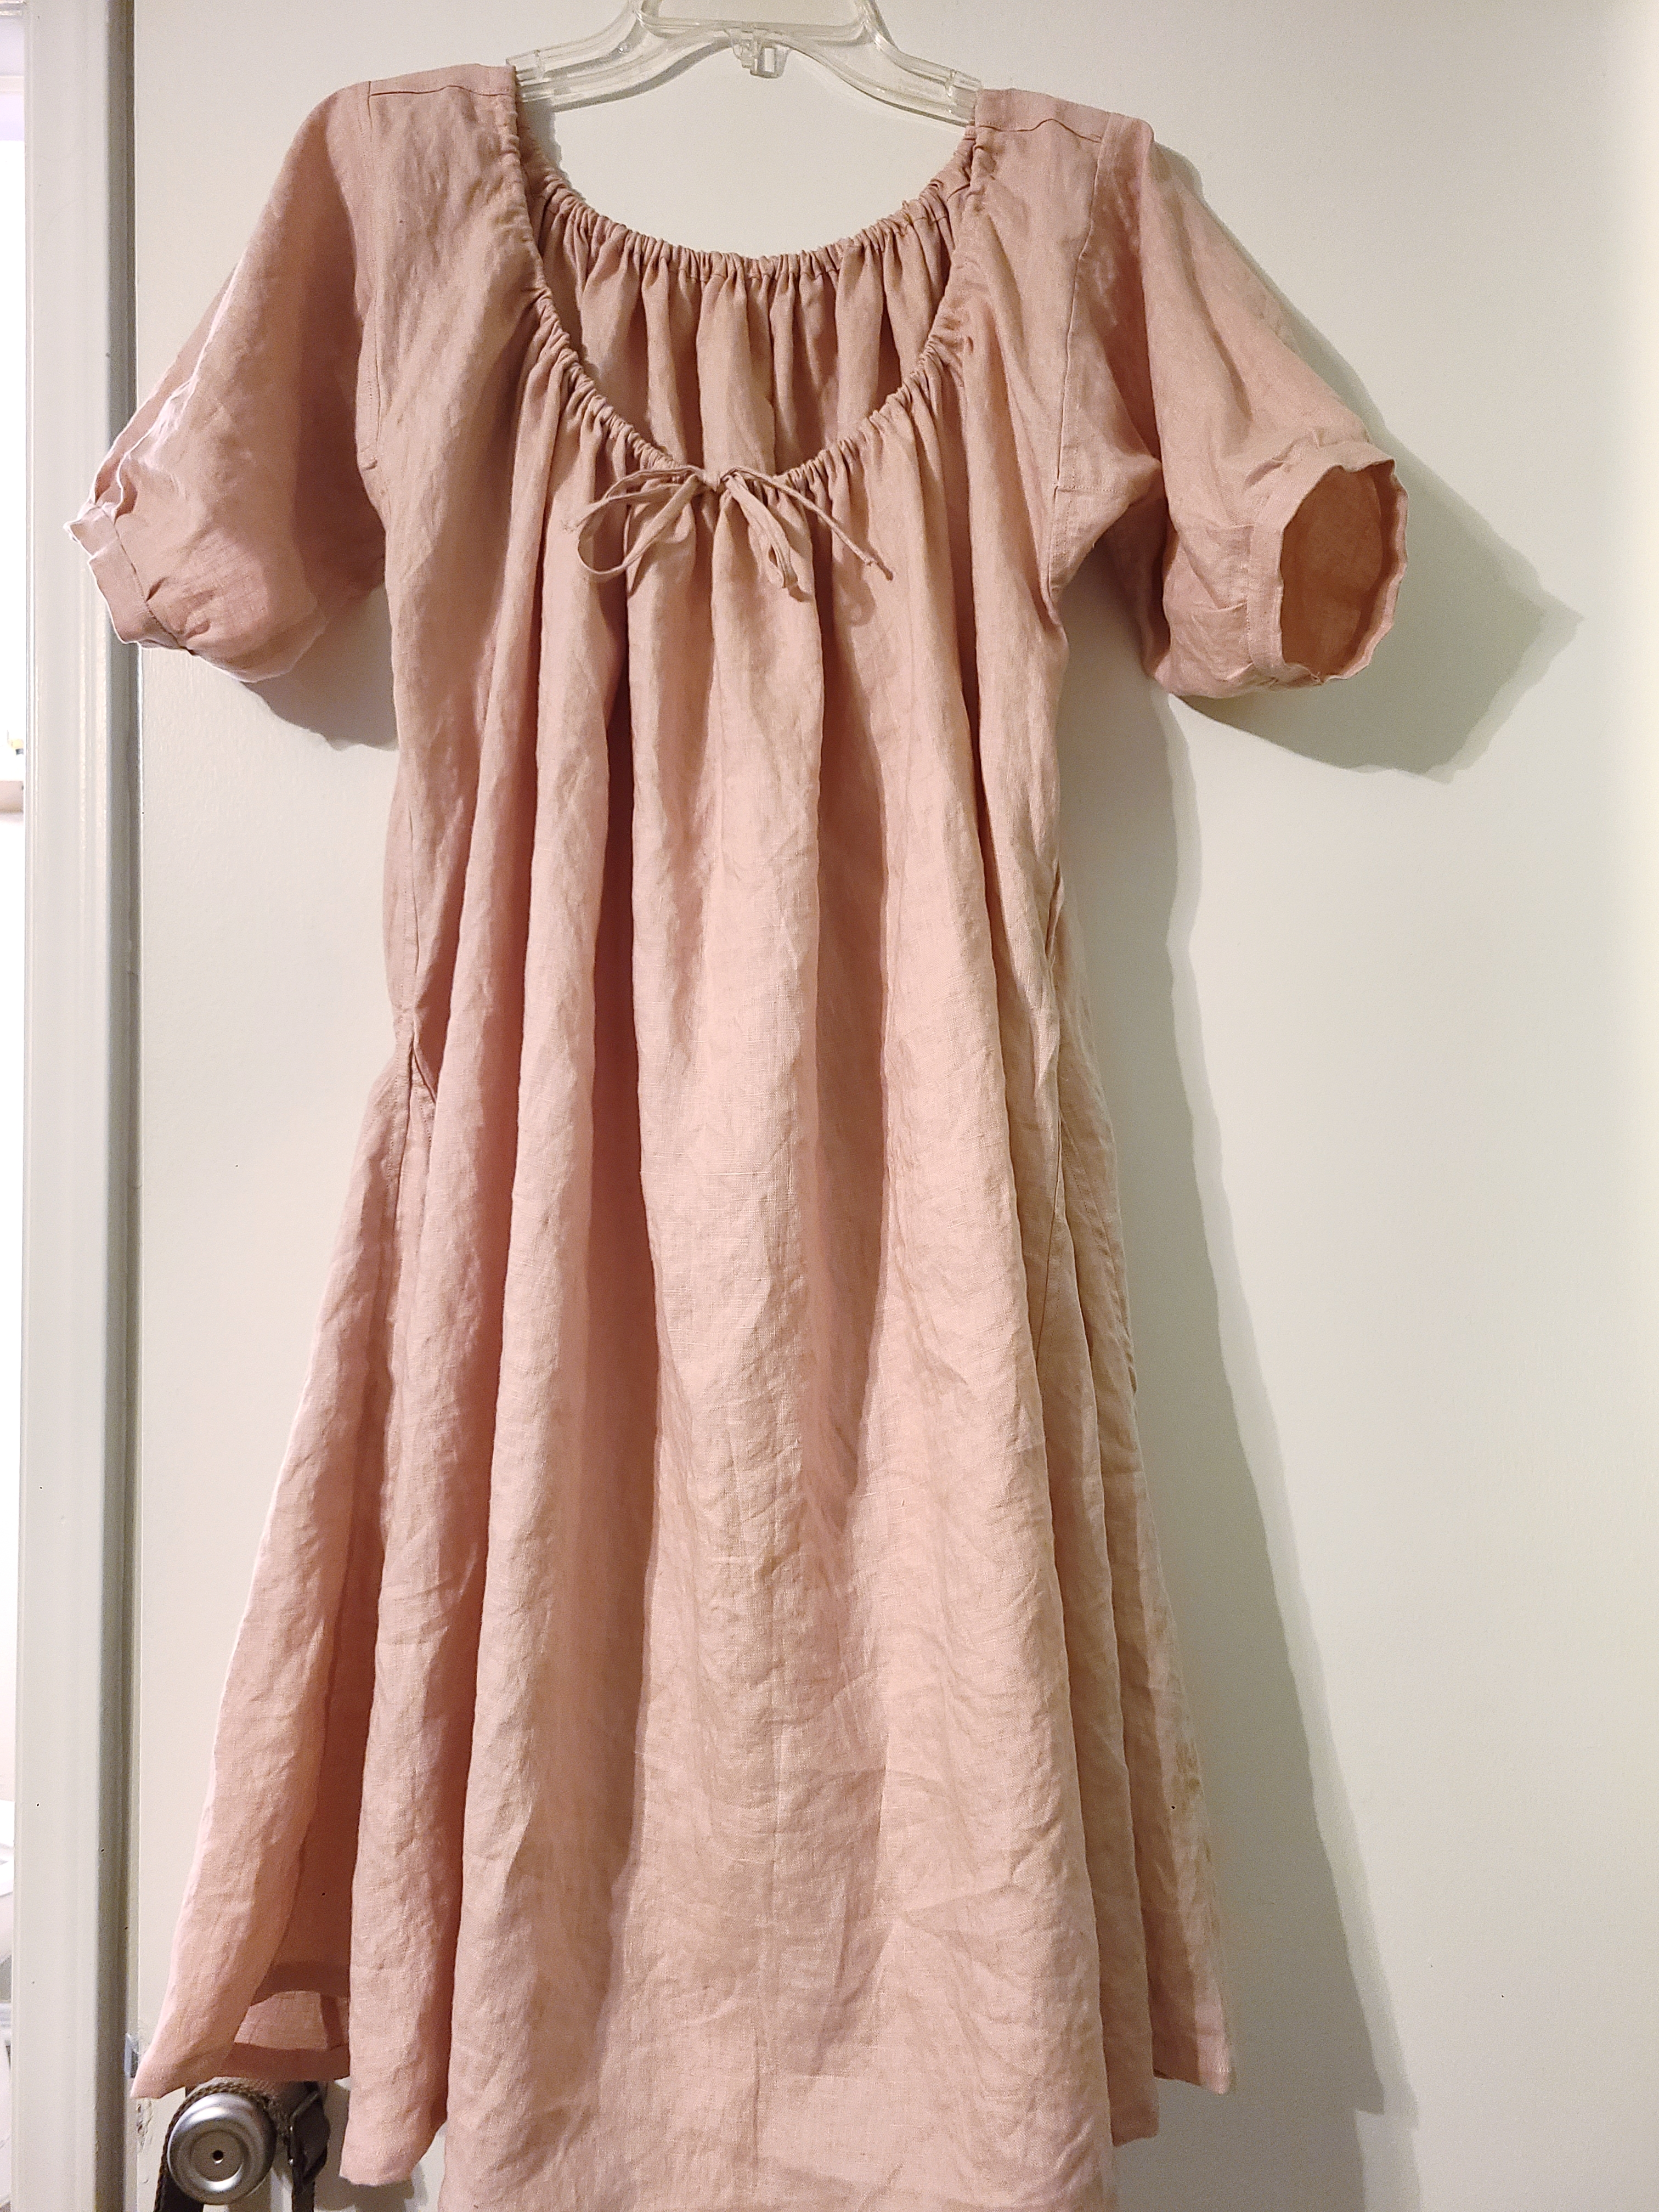
In an effort to be more comfortable in the heat, I made a new linen shift using the historical method that includes only squares and triangles. I used this method on my brown one last year, but this one is entirely machine sewn to save time and I also gave this one short sleeves instead of long ones.

It hits just above my knees and is pretty comfy. I may use it as part of a ren faire costume if I decide to do something other than the swamp witch this year, although I think I may just do the same thing as last year and maybe just make a better skirt.

Anyway, I’m also in a redecorating mood, and I’ve recently bought some new household items to fit the dark cottagecore theme I’m going for in my bedroom (think lots of dark greens and teals and browns, with a few lighter accents here and there). It’s a good theme for me because I’ve already got a ton of old dark wood furniture, and I like the cozy, sleepy atmosphere.

I decided I need a new throw blanket for the bed, though, and I already have a ton of Paintbox Yarns Simply Aran in the shade Vintage Pink so I decided to use that for a crocheted blanket (yes, it matches the shift, and that was completely unintentional but kinda cool). I think it’s a good accent color with everything else, and I chose the Fenya Blanket pattern to use. It costs money and is very similar to the free Popcorn Blanket pattern, but I was willing to pay the small price to get the chart, which I often find easier to follow than patterns that are written out. Here’s my first square:

It’s only got 11 rounds but it’s larger than I expected it to be. Not that I’m complaining — that means fewer ends to weave in and fewer squares to connect at the end! I do wish the yarn wasn’t completely acrylic because acrylic blankets make me sweat at night, but I’m probably just gonna keep this at the foot of the bed for decor, and because of that I might not even need to make the recommended 16 squares — I bet I can get away with a smaller size blanket just fine.

I’m also working on sewing a cute linen summer dress with a strawberry and floral print, but I’m incredibly frustrated with it at the moment — I picked my size so carefully and even combined areas from 2 sizes to make it fit me perfectly, and the whole thing turned out too big. I’ve got to undo a ton of work and trim some of the pieces, but I’m worried it’ll look weird so I’m just kinda staring at the half-finished dress sitting on my sewing machine, not wanting to mess with it. I need to finish it though — the fabric was ridiculously expensive.

Sorry if this was a kind of boring post — I just wanted to share my projects and there’s not really anything else going on in my life to talk about right now. I hope you’re all doing well and staying safe and healthy, and I’ll try and come back soon with something more interesting!

Another new (to me) old craft: nålbinding!

We’ve looked at medieval fingerloop braiding, now who’s heard of nålbinding?

There are about a bazillion ways to spell it, and very few good tutorials online (that I’ve found so far, at least, and if you know of some good sources please share in the comments), but this ancient art seems worth exploring! And when I say ancient, I mean it’s speculated that it’s older than knitting and crocheting. Wow.

The word nålbinding I believe is Danish in origin, but artifacts have been found all over the world from Scandinavia to Egypt to Israel to Peru! These artifacts include accessories such as socks and mittens and hats and range from very delicate small stitching to chunky and thick. One constant, however, appears to be that they’re often made of wool, because the spit-splicing method is used to join new lengths of yarn.

So, of course I had to try it out. Take a look at my first pathetic attempts. They kinda just look like tangled clumps. 😂

After a bit of practice, however, I managed this:

I’m not entirely sure I’m doing it right (I’m trying the Oslo stitch but there appear to be quite a few types of stitches) and I know I haven’t counted my stitches properly, but it’s at least the shape it’s supposed to be.

As you can see, there are loops on my thumb, and you use those loops along with the large needle (I’m using a bone bodkin type thing ’cause that’s what I had on hand) to make your stitches. I’m trying for a hat here, and the way you increase in each round seems much like how you increase in crochet (2 stitches in each stitch of the first round, 2 stitches in every other stitch of the 2nd round, etc.).

So, why bother trying to learn this if you already know how to knit or crochet? Well, if you’re like me then learning new things is just fun, and if you’re into historical dress or historically accurate re-enactments this could be very helpful. Aside from that, though, apparently the fabric this technique makes does not unravel like knitting and crochet do and it’s therefore optimal for making things that may require steeking or that may get lots of wear.

Had you already heard of nålbinding? Have you tried it before, and if so, what have you made? I’m very interested to learn more about this, and I hope this post was interesting for you, as well! If I can finish the hat I’ll post about it again.

Thanks so much for reading, and I hope you’re all doing well!

have you heard of this obscure craft?

It’s called medieval fingerloop braiding (I never know if I’m spelling ‘medieval’ right, so forgive me if I mess it up), and maybe I’m making a huge assumption saying that it’s obscure but I had never even heard of this craft until I recently stumbled upon this video by one of my favorite CosTubers, Morgan Donner (that’s ‘costume YouTubers,’ in case you’re not familiar with this genre of creative content makers). You literally put these long loops of string on your fingers and weave them together into a braid (watch the video — it’s hard to explain)!

I decided to give it a try, and this orange one was my first one:

It’s a simple five loop square braid (as are all the ones I’ve made so far), and it’s not perfect but for my first try I think it’s pretty good in terms of tension consistency, at least. My second try took a bit less time since I was getting the hang of the movements, and it produced a similar length of cord:

There are actually all kinds of braids and they can get super fancy and complicated, but to me this square braid seems really practical and it’s rhythmic construction is kind of nice, like knitting a length of garter stitch or crocheting a chevron blanket. The third length I made is actually going to be part of my swamp witch costume for the Renaissance Faire that I mentioned in my last post, and as you see here I’ve put a creepy crow’s claw pendant on it:

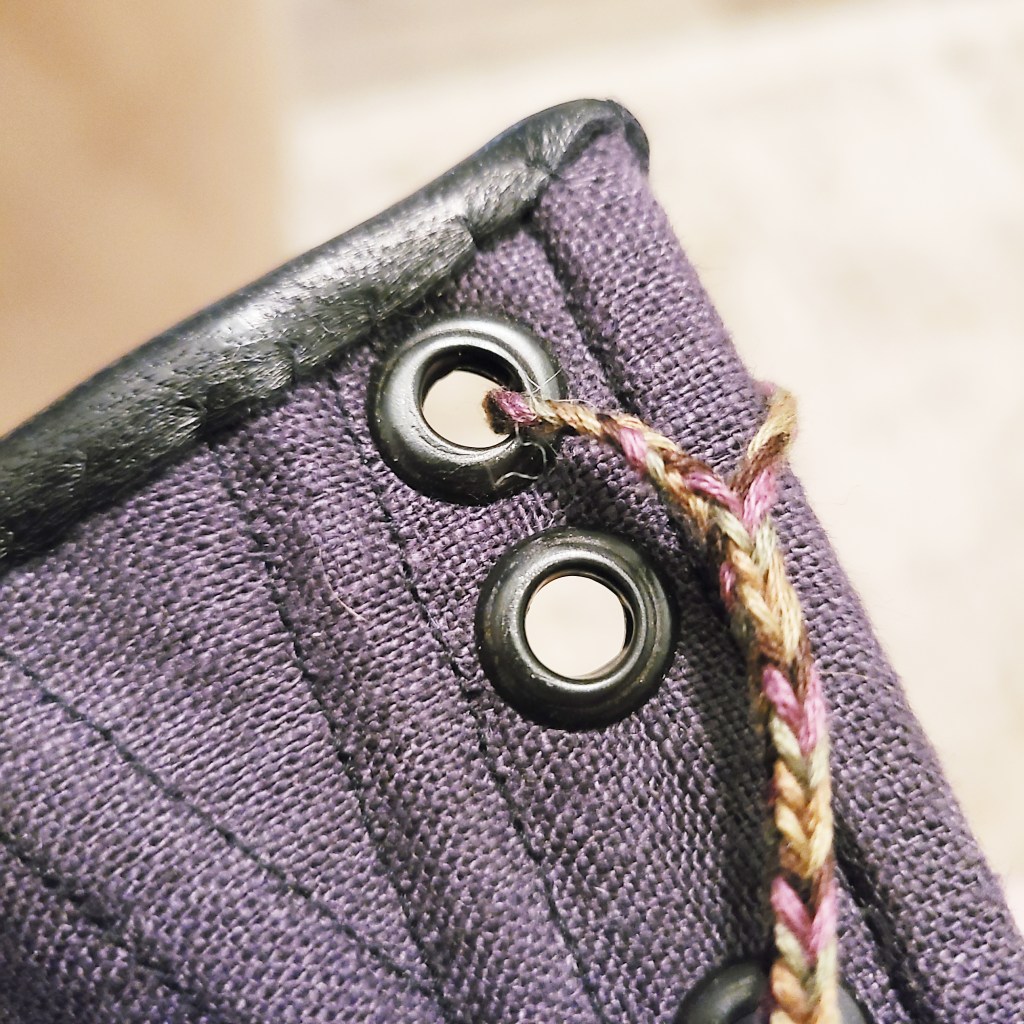
After these three successes, however, I foolishly thought I’d try three new challenges at once: using ‘caterpillars’ (lengths of crocheted chain stitches that dangle from your loops that allow you to make super long braids), holding the strings differently as I worked, and doing a technique that starts the braid with a loopie thing instead of just tying off a normal knot. I did this for a specific purpose: I wanted to make my own lacing cord for the 18th century inspired stays that I somehow managed to miraculously make (I may do a separate post on those because to be honest I’m really proud of myself for sewing those):

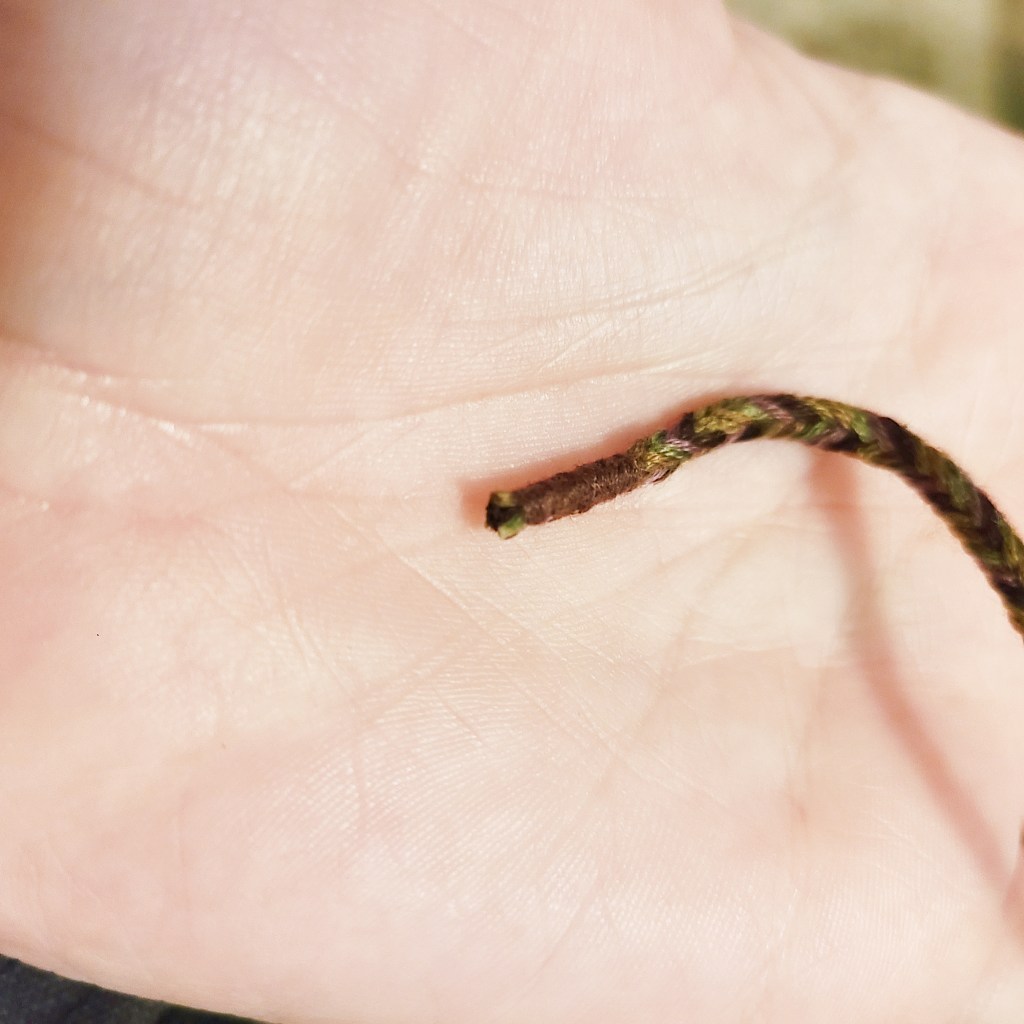
You can see how the braid seamlessly joins to form the loop, but oh my gosh did I ever struggle with this! And not only was this super frustrating (taking many time consuming tries before I got it right), but I also accidentally dropped loops multiple times during the making of the cord and had to figure out how on earth to get them back on my fingers in the proper configuration (if the loops twist it causes different things to happen in the appearance of the braid). I also had to figure out how to un-braid to redo some rough sections, and when I finally finished the cord I don’t even know how many frustrated hours I’d spent on it. I almost gave up a few times, to be honest, since I could just buy some regular cord and save myself the trouble, but in the effort to make as much of my costume as possible I persevered, and at the end I used some regular thread to make my own little secure aglet (which was pleasantly easy and quick):

Overall I’d recommend trying this craft out if you’ve got some embroidery thread or lace weight yarn laying around, just don’t do what I did and bite off more than you can chew at once. It’ll be fun if you take it step by step! 😄

Or perhaps you’ve already tried medieval fingerloop braiding? I’m curious to hear how many other people have tried it or even heard of it, so I’d love to hear from you in the comments! I’d also like to know what you think of this type of post, since it’s not really knitting or crochet related.

So yeah, that’s it for today! Thanks so much for stopping by, and have a great day! 😁