How did everyone like the chevrons last week? Everyone’s blankets are looking fantastic — I’m so excited to see this project really taking shape! Are you ready for this week? We’re just repeating what we’ve already done now, so any frustrating bits are hopefully over and done with!
This week we’ll be doing 9 rows, just because I didn’t want to end the week in the middle of a stitch pattern. Next week we’ll be back to 8. Don’t forget we’re using US terms!
Last week we left off after finishing row 37:
row 38
With new color, dc across.
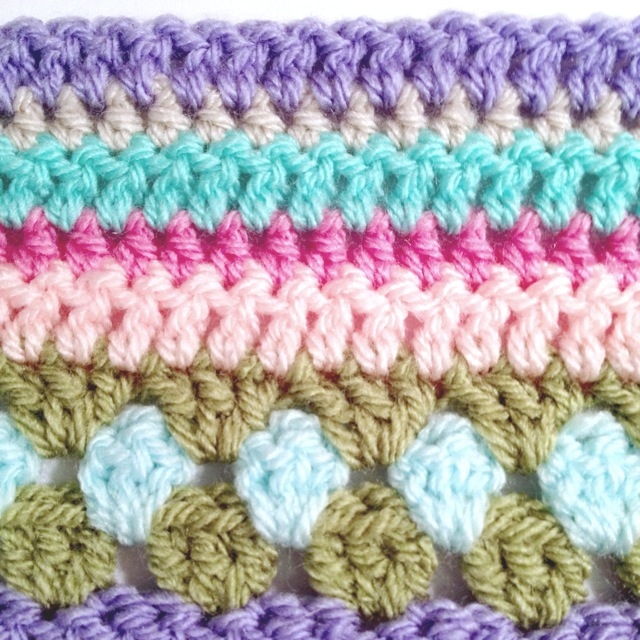
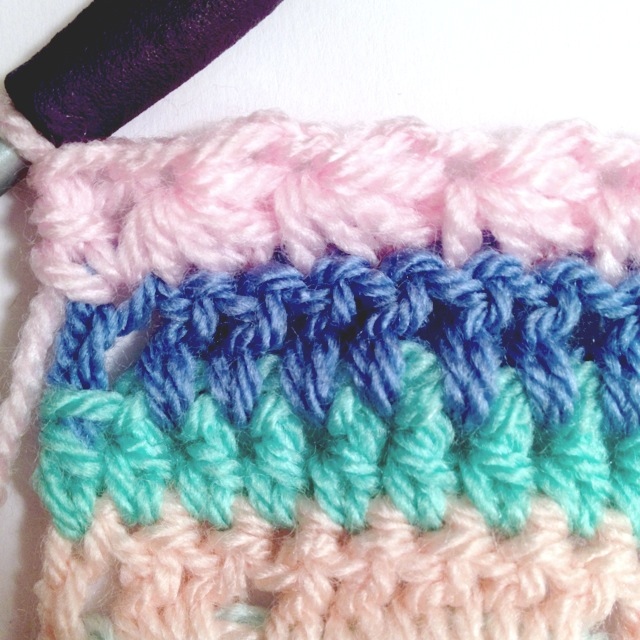
rows 39 – 41
With new colors, work these three rows in the granny stripe pattern.
row 42
With new color, dc across.
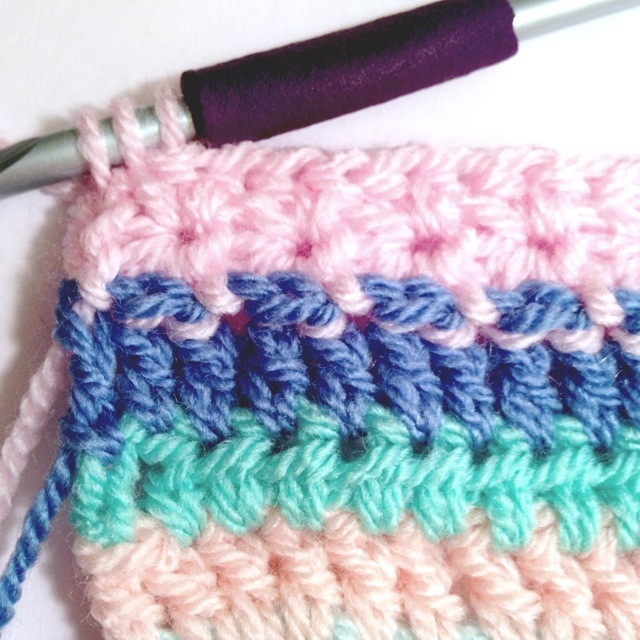
row 43
With new color, hdc across.
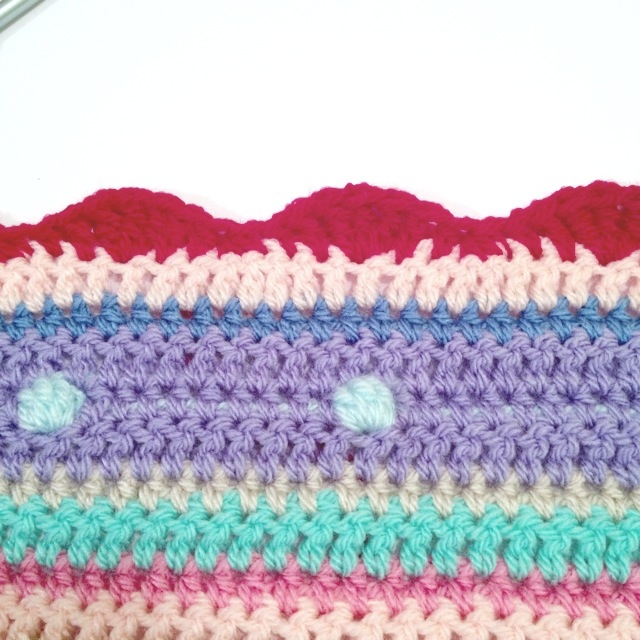
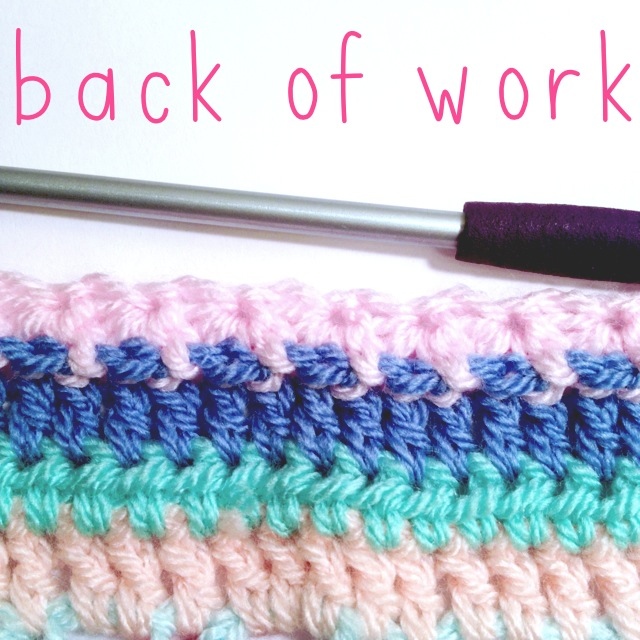
row 44
With new color, dc across. Here’s a picture of the back of the blanket (don’t know why I didn’t get the front):

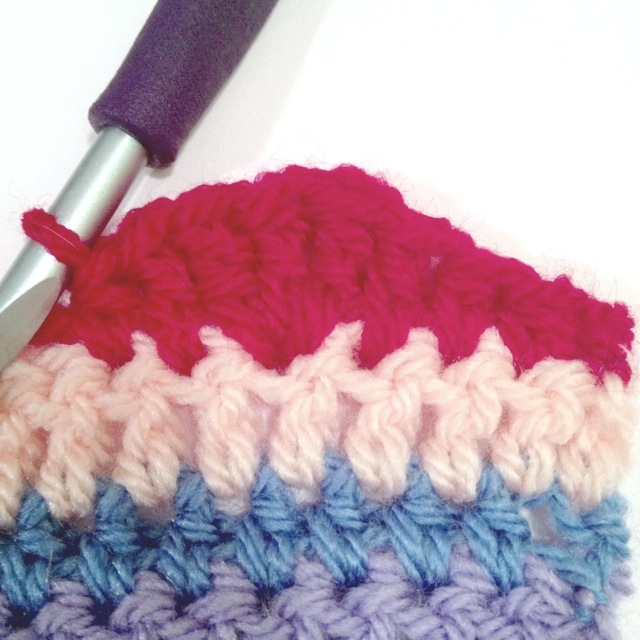
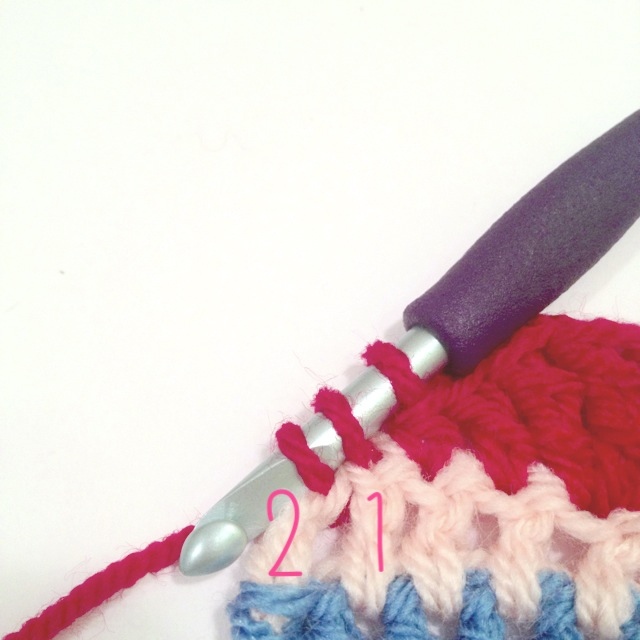
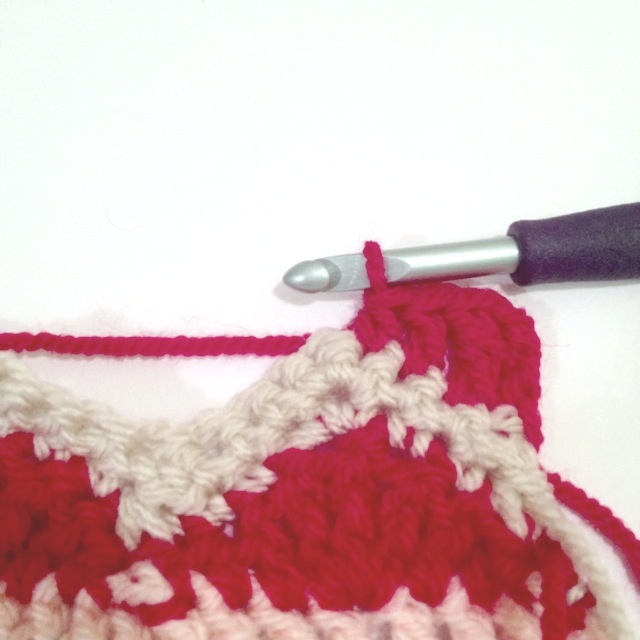
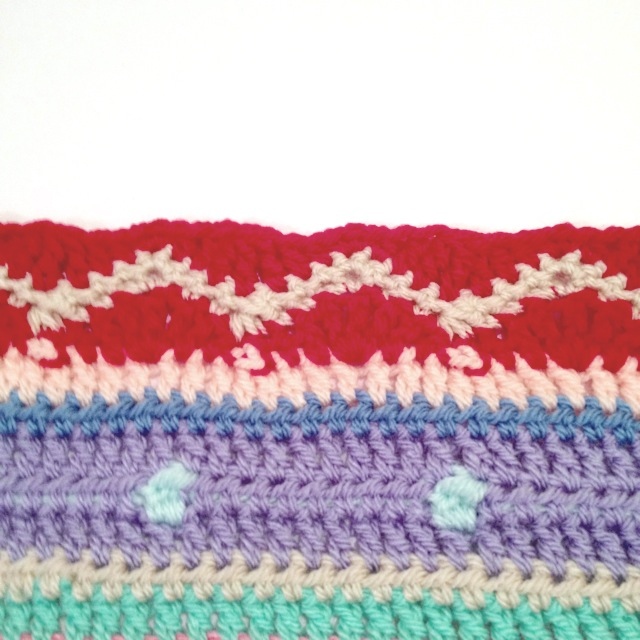
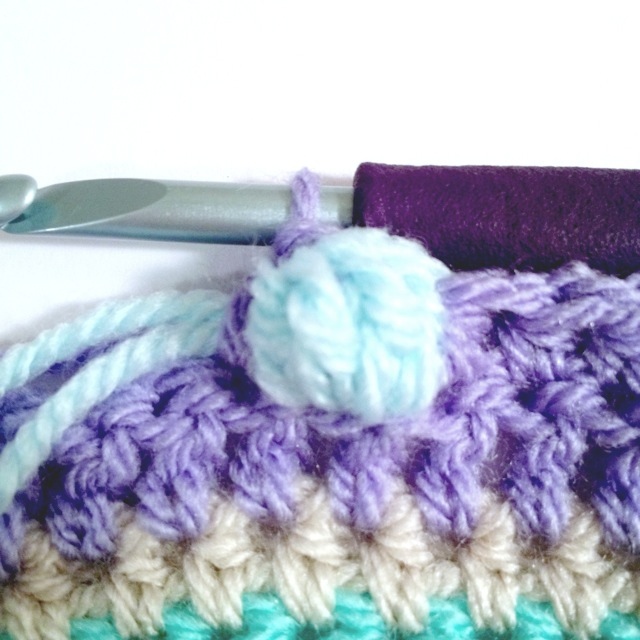
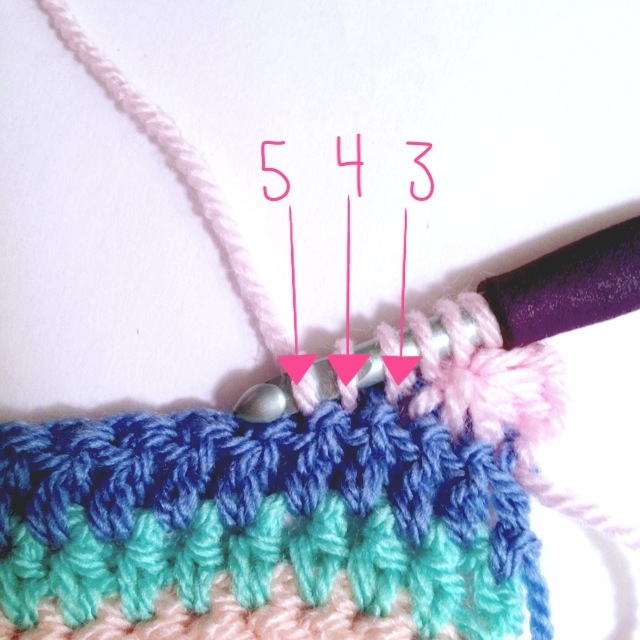
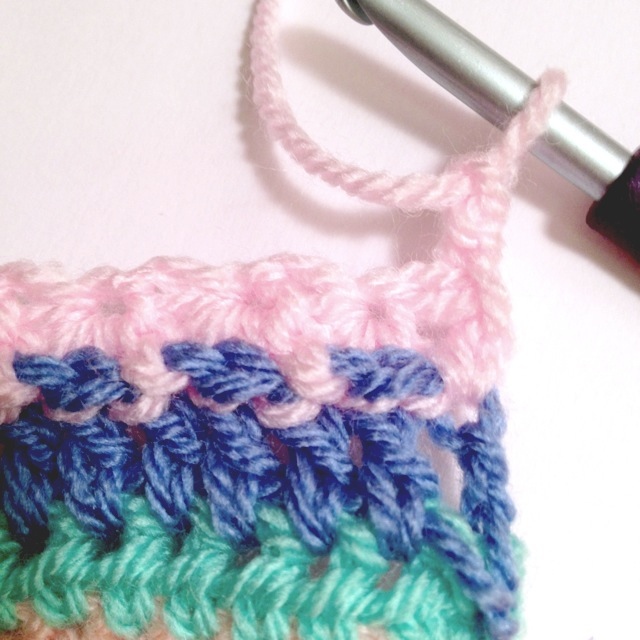
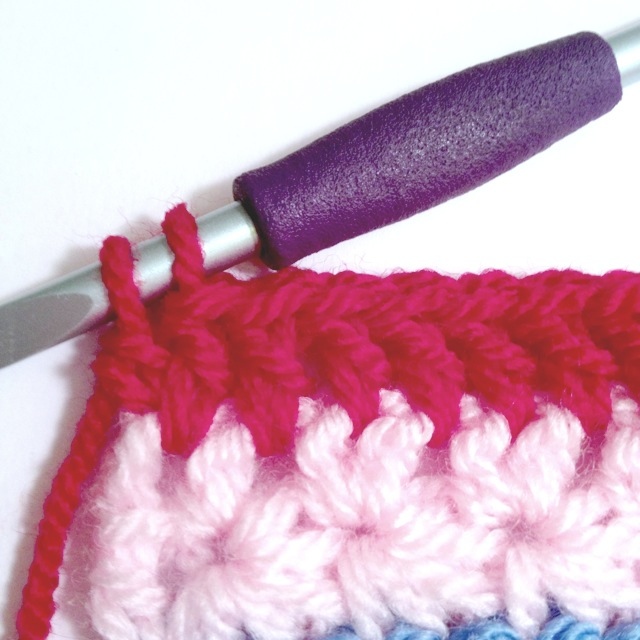
rows 45 and 46
Make sure row 45 is a right side row. Do the star stitch the same way you did it before:

And that’s it for this week!
Hope everyone is enjoying the CAL so far. Don’t forget to share pictures of your progress on the facebook page or the Ravelry group, and also on Instagram with the hashtag #nyaccal as well.
Thanks so much for stopping by!