ta-da!

I finished my mom’s shawl for our England trip this Christmas!  The free pattern is found here, and you might recognize it from my first one that was made for myself.  Here it is:


I’m excited about the result!  I think I’m going to suggest to my mom that she wash it and block it to stretch the ends a little more, like I’m planning to do with mine.  This shawl does not have the tassels on the ends that are included in the pattern — Mom preferred hers without them, and I think it looks just as good.  I also love the creamy colors!

Well, that’s all I’ve got for now, but I’m going to try and post a little more than I have been lately — I know I’ve been really slack about it.  Anyway, thanks for stopping by!


getting along

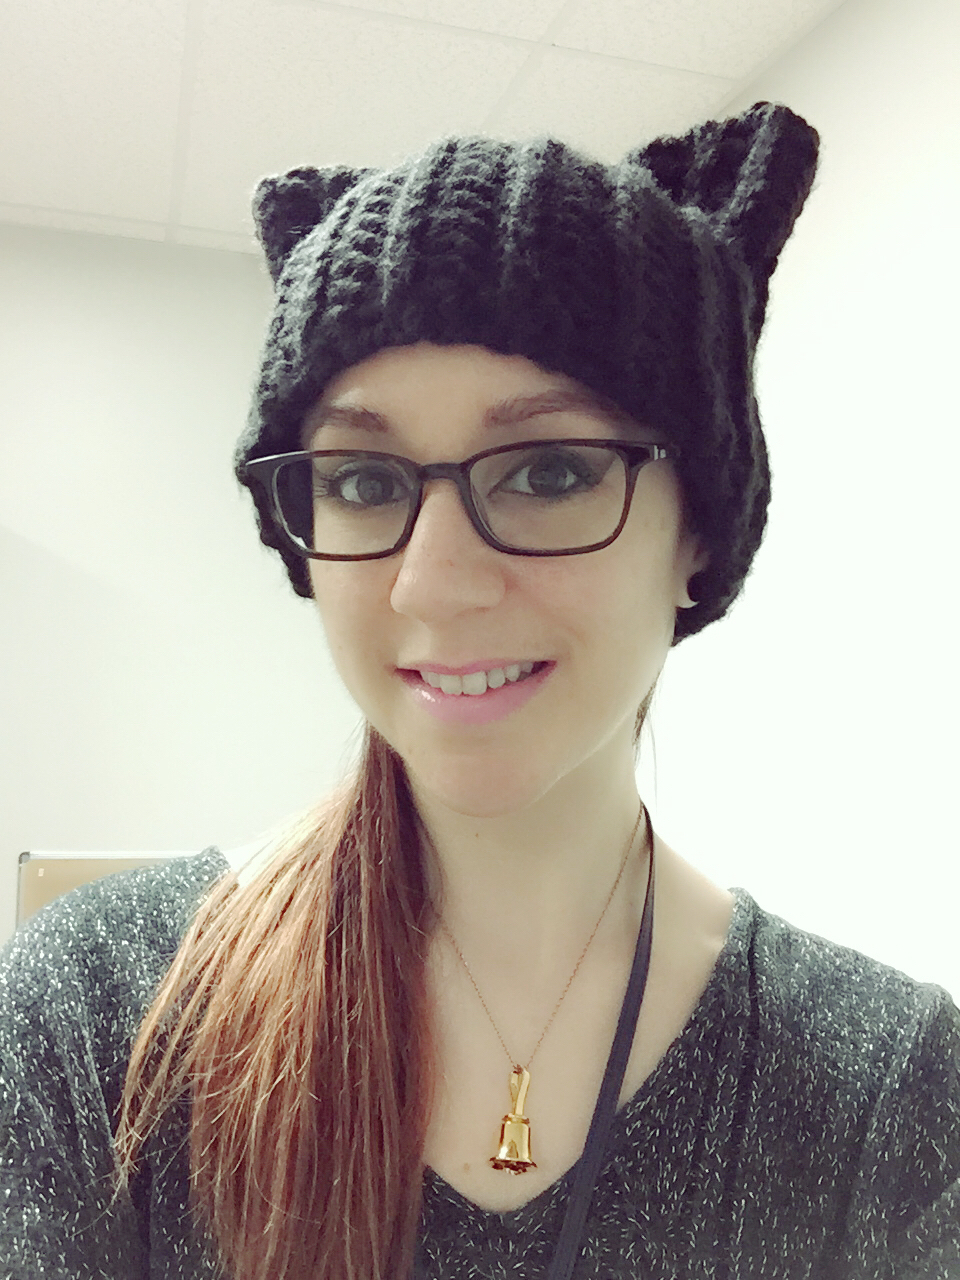
To practice my fair isle technique, I made a hat!  I’m really happy with it.  It only took 2 days to finish, which is even better.


I made it with some spare Berroco Vintage yarn that I just had lying around.  The pattern is my own conglomeration (I used other patterns to make it but nobody else has made this exact hat).  The fair isle pattern can be downloaded here, and the hat pattern itself can be downloaded here.  If you follow the hat pattern and CO 96 sts, the fair isle pattern matches up perfectly.  I’m really happy with it.  Unfortunately my phone camera wouldn’t quite pick up the purple color correctly — it looks almost brown in the first picture — but it is purple, and the background is light blue.

That’s all I’ve got for today, thanks for stopping by!

a new technique

I tried fair isle knitting today for the first time!  It wasn’t as hard as I expected it to be, but I think I still need some practice.


I began working on the letter H because that’s what I’m going to put on the front of my Weasley Sweater since my name is Hannah.  I got bored with it though, so I quit early.  I’ve got the gist of it, and I think I’m going to do intarsia instead of fair isle on my actual sweater because I don’t want to do so much stranding:


So you see, it doesn’t look that great because there are so many strands and the tension differs a bit on a few of them.  Here’s the H:


So on my actual sweater I’ll use the H on the right (the biggest).  And speaking of my sweater…


I’ve finished the back!  I did what the pattern said and safely bound off the shoulder parts and put the neck part on a large stitch holder:


So it’s 82 sts wide and 26″ long.  It’s curling both at the bottom (which it is supposed to do) and at the sides (which will be fixed once I sew the front to the back).  I started the front piece but it’s not worth a picture yet because it’s just like the back piece is so far.  Once I start the intarsia I’ll post an update on how that’s going.

I know it seems really simple to many knitters, but I’m really proud of what I’ve done so far because knitting is so much harder for me to learn than crochet, and it’s taken a lot of time and concentration to get this far.  I just hope I can finish the sweater before the middle of December because that’s when I’m going with my parents to England, and I want to wear it on the trip!

So that’s all for today, thanks for stopping by!
 

something new, and I’m selling

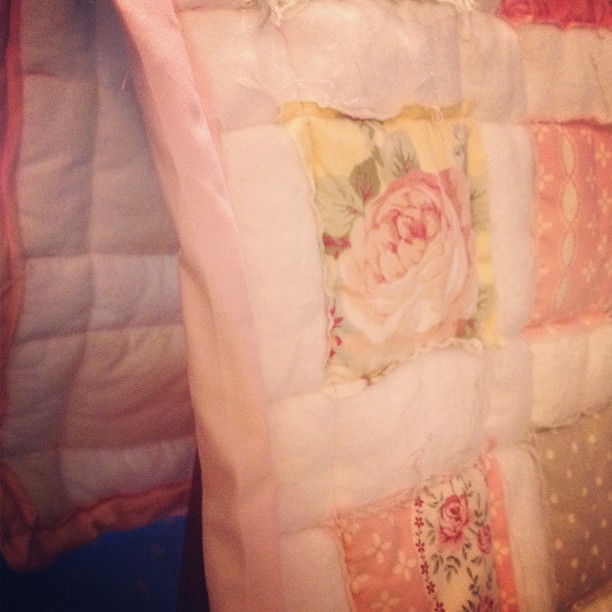
Check it out, it’s my first quilt ever!

It’s a rather shabby chic style that I was dying to try, and I think it turned out well.  OK so my binding isn’t exactly wrinkle-free, but actually I think it adds to the kinda shabby look.  It’s a baby quilt, and it’s about 27″ x 27″ (or about 69cm square), so it’s not very big, but since it was my first one I wanted to make sure I could do it before making a larger size.

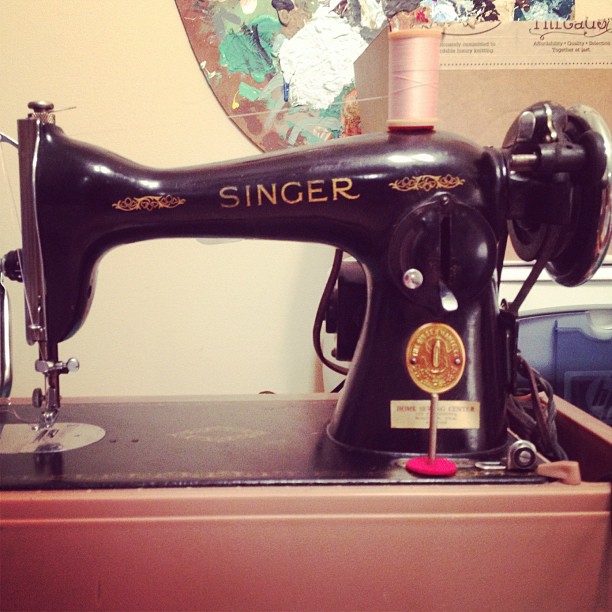
And here’s the machine I used.  A 1949 Singer, whose claim to fame was the fact that it was electric and that it has a backstitch option.  Very advanced, I know.  I actually really love this machine, but after making a quilt on it I feel like it would be easier to sew quilts on a newer machine.  That’s out of my budget right now though, so I’ll keep using this baby!

The white fabric is flannel, the thread is cotton, and the squares are, I believe, all cotton as well.  The batting (1″ loft and very plush) is polyester.  The picture above was before I washed it.  The raw edges of the squares are a little more unraveled after being washed, which was the point for me (that’s what I loved about this particular way of quilting).

There it is washed (sorry for the bad lighting).  You can see the edges are a little frayed.  I love it.

And there’s the finished/washed product again.  I’m really proud of it, even though it’s small.

The reason I made this is because I’m thinking of making baby quilts to sell.  Would anybody be interested in a custom baby quilt?  I could make any color combo desired, and I could make any future quilts over 30″ square ( a little bigger than this one).  We could negotiate a price depending on what materials you want.  After some practice making baby quilts I would love to try larger sizes, but that may be a while.

Actually, I’m willing to sell this one.  For it to be worth what I paid for the materials plus shipping, I’m asking $60.  Any takers?  It would also look pretty in a crib, on the back of a recliner, on a wall, in the car, or as a play mat.  Machine washable and dryable.  This is cheaper than many others that you may find online because it is my first one and I’m still getting used to the technique and the machine.  If anybody wants it, please comment on this post to claim it and e-mail me your address at HannahDavis1988@gmail.com.  Thanks for visiting today!

old & new

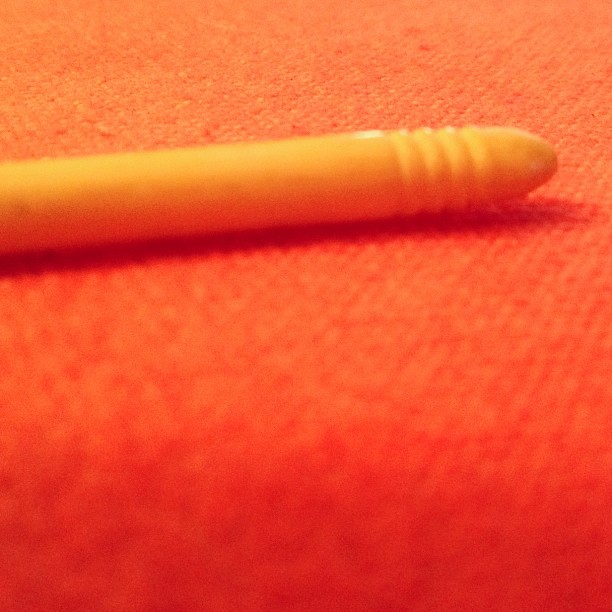
I got something that is both old and new!  It’s technically old but it’s new to me!  I got a new crochet hook, and I found it over on crochetime.  Anyway, it came in today:

It’s made of bone, and it’s actually very small, as you can see by the last pic with it in my hand.  It says size 4 but I haven’t used my little metal sizer thing because I can’t find it…  Anyway, just wanted to show ya’ll this new item!