Can you believe we’re already at week 9? It doesn’t seem like that long! Are you ready for week 9? Let’s get started, and remember that we’re using US terms!
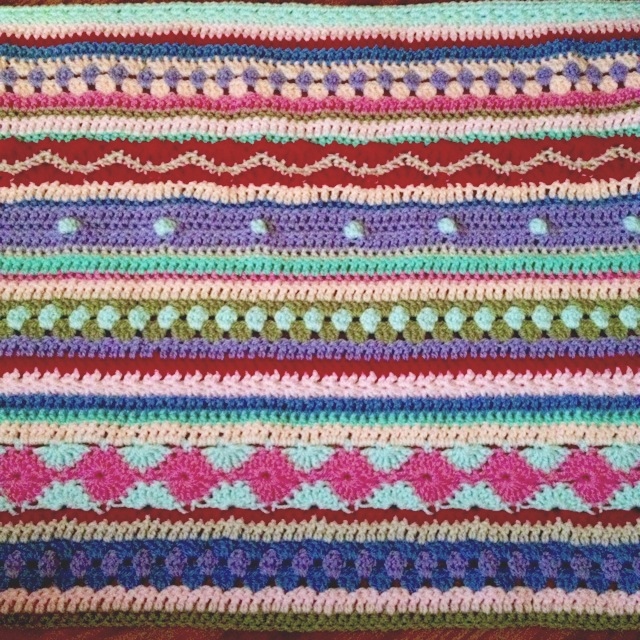
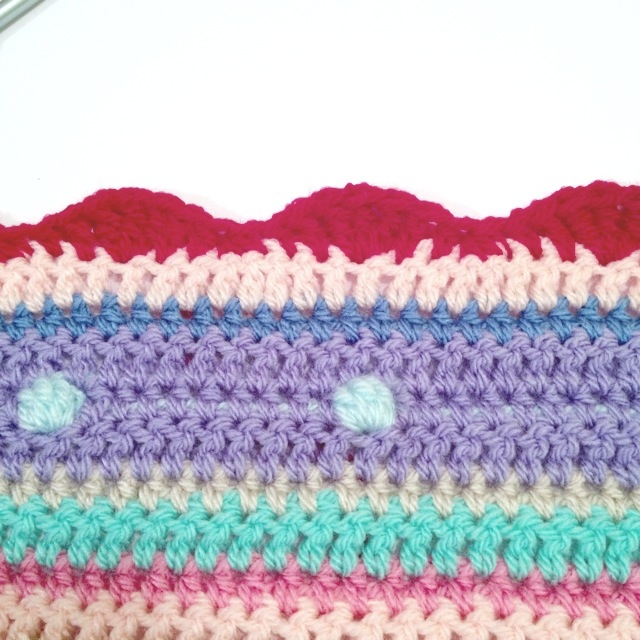
Last week, we left off after finishing row 62:
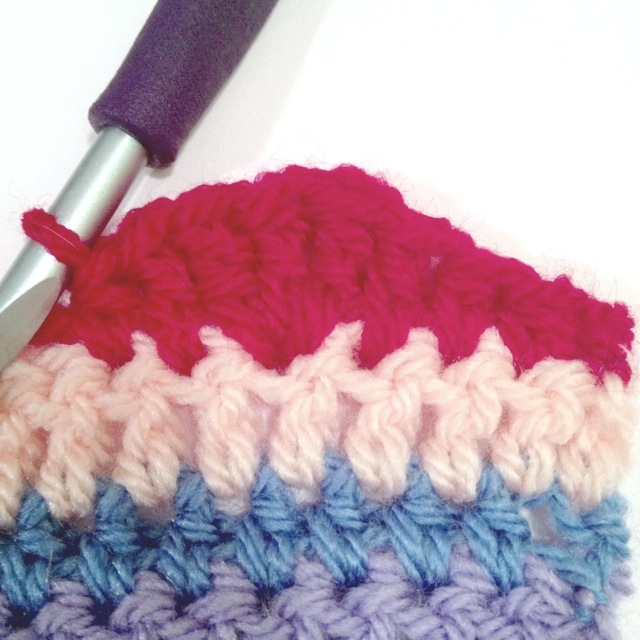
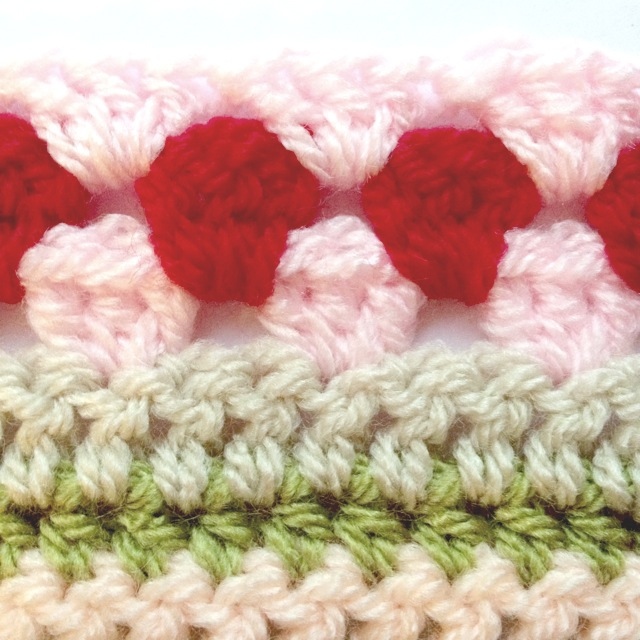
row 63
With new color, hdc across.
row 64
With new color, dc across.
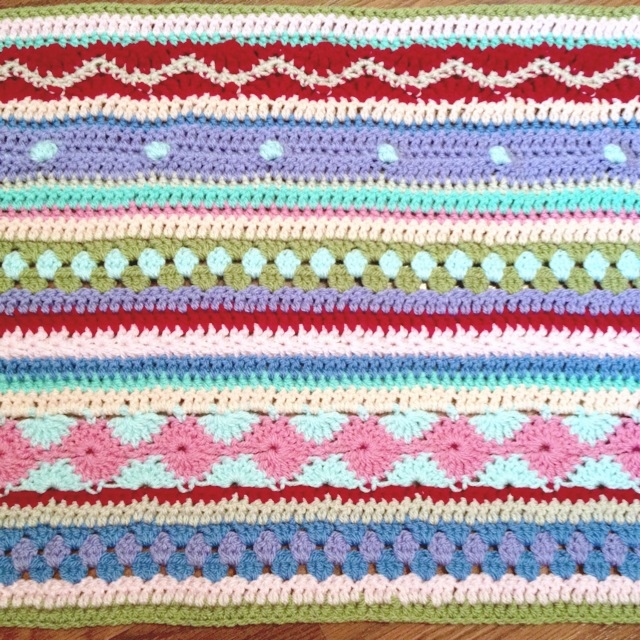
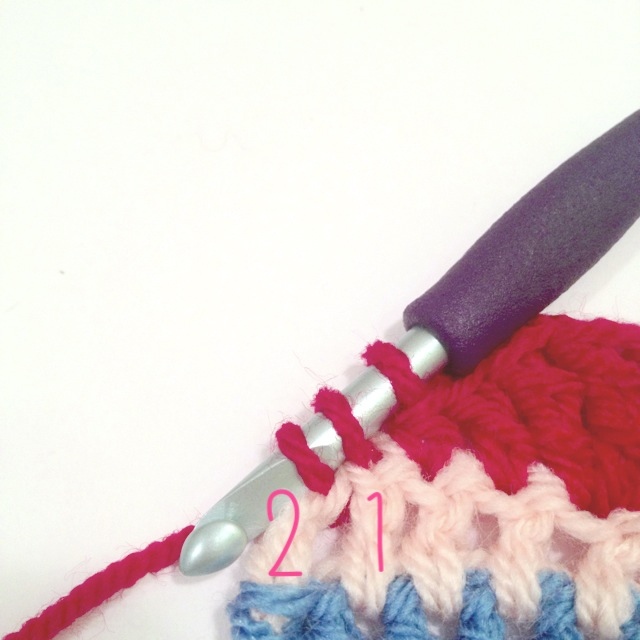
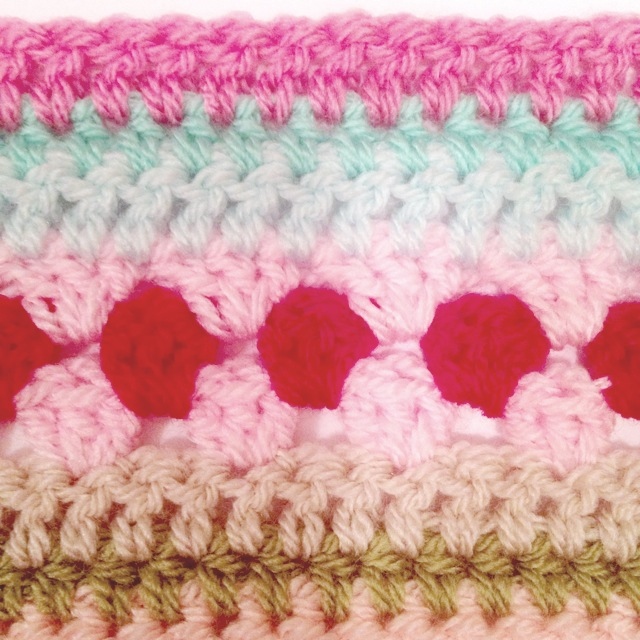
rows 65-67
Another set of granny stripe rows! Click here for the original detailed pattern. Here it is so far:
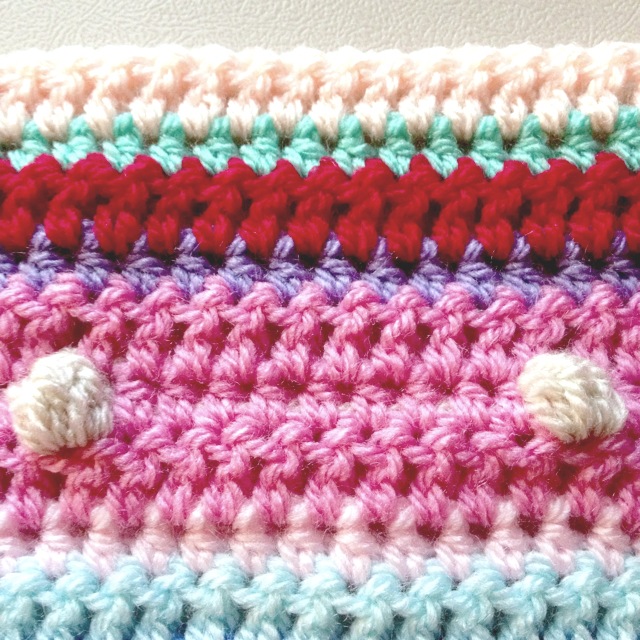
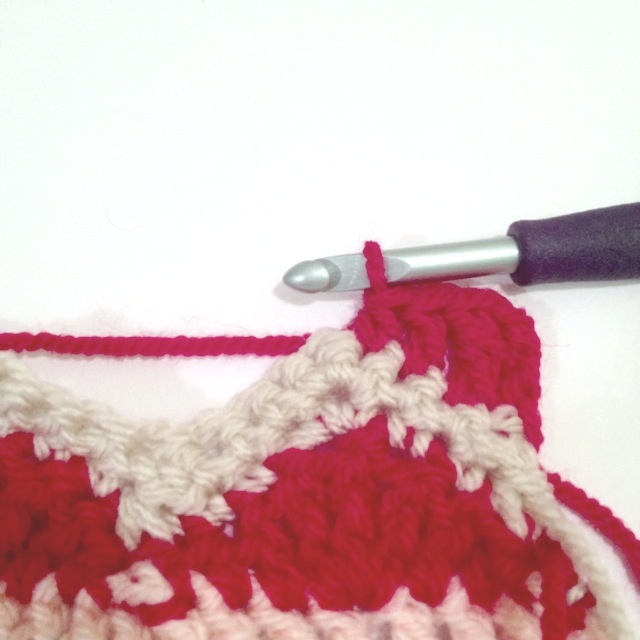
row 68
With new color, dc across.
row 69
With new color, hdc across.
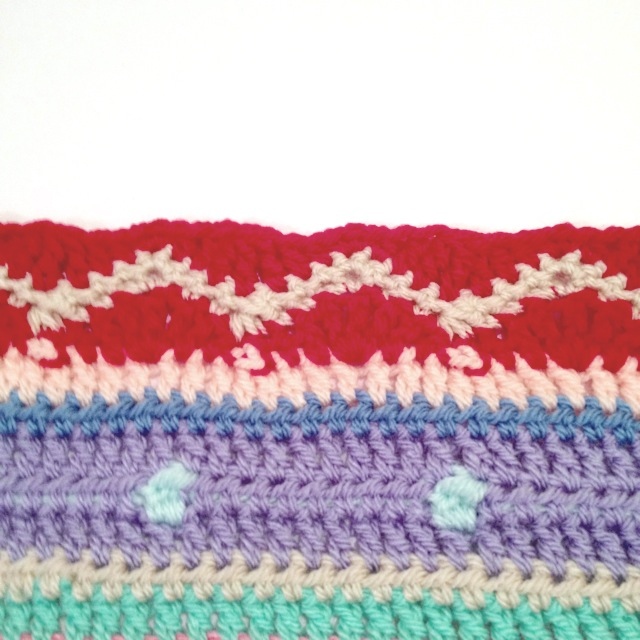
row 70
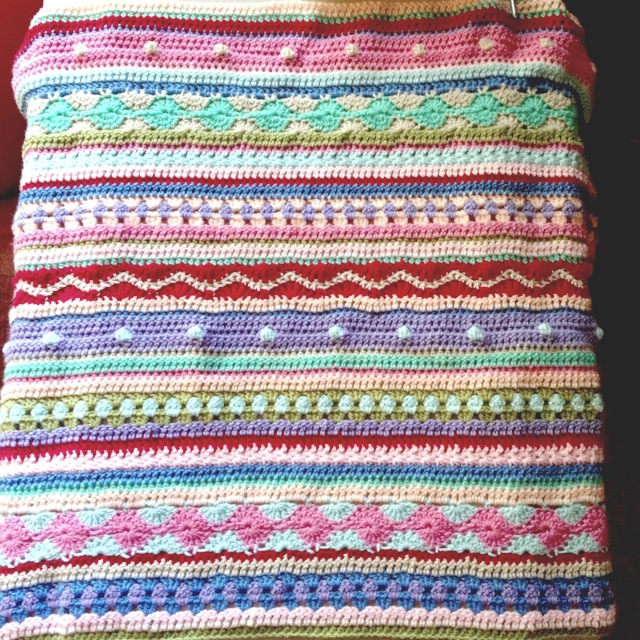
With new color, dc across. Here’s all of this week’s rows:
I couldn’t get a picture of the whole blanket that looked blog-worthy due to bad lighting, and I’ve started next week’s rows already, so I’m sorry there’s not a picture of the whole blanket this week. Hopefully next week I can get a good one!
Thanks to everyone who’s been sharing the CAL (we’re still getting new participants, which is great) and posting their progress on the facebook/Ravelry pages. It’s really neat to see everyone’s progress!
That’s all for this week, thanks for stopping by!